Submitted by aitux on Sun, 07/26/2009 - 10:50
Revision of Burn Trisquel CD images from Sun, 03/12/2017 - 01:19
The revisions let you track differences between multiple versions of a post.
This manual covers the steps to make a Trisquel bootable disc for users using the Microsoft Windows and Mac OS X operating systems. This manual is not an endorsement for the use of non-free operating systems. This manual is designed to help users migrate from non-free systems to free ones, as it is the case of Trisquel.
In Trisquel
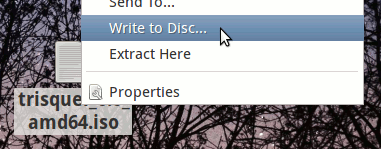
- Right click an .iso image and select Write to Disc.
In Windows
- Download a Trisquel disc image from our downloads page.
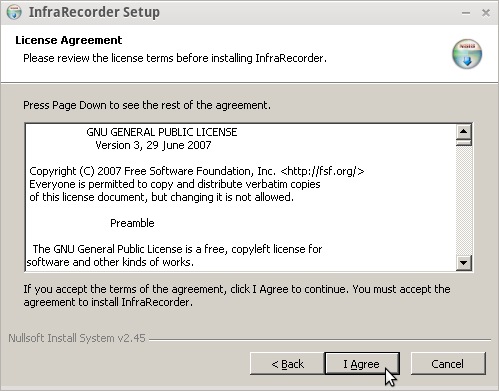
- Download and install InfraRecorder, a Free Software program that burns disc images.Noting that current 2017 this project has not been updated since 2012, and could be a security risk, it is recommended to prefer to make use of a maintained Free, Libre software such as Unetbootin, (documentation, available on site).
- Insert a writable disc (e.g. CD-RW or DVD-RW) into the recorder and select "do nothing" or "cancel" if any auto-boot message appears.
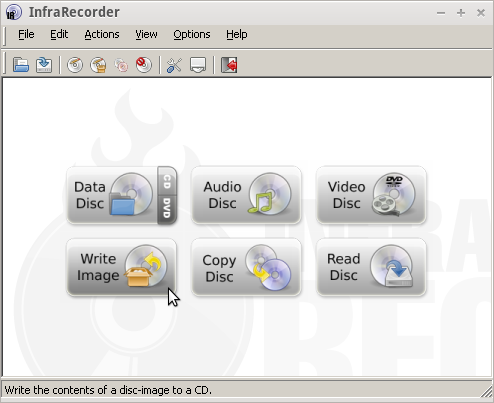
- Open InfraRecorder and select Write Image.
- Select the ISO image that you downloaded in step 1, for example "trisquel_4.5_i686.iso", and click on 'Open'.

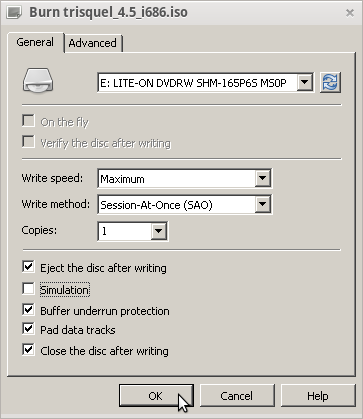
- Check the recording settings. Be sure to choose a recording speed low for an error-free recording; then click on 'OK'.
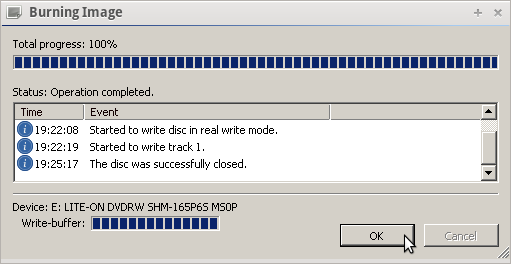
- Burning progress will be displayed while your disk is created.
In Mac OS X
- Download a Trisquel disc image from our downloads page.
- Download and install Burn, a Free Software program that burns disc images.
- Double-click on the downloaded ZIP file to extract the application, then double-click on Burn to launch it.

- Click on "Copy" on the upper tab.
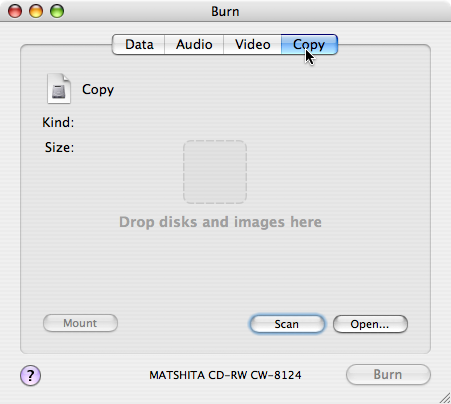
- Find the downloaded Trisquel disc image, then drag it to the drop zone titled "Drop disks and images here."

- Click on the 'Burn' button in the bottom-right corner of the window.

- Insert a writable disc, such as a CD-R or a DVD-R (rewritable discs work too) into your system's disc drive, then click on the 'Burn' button on the pop-out dialog. Be sure to choose a recording speed low for an error-free recording; then click on 'OK'.
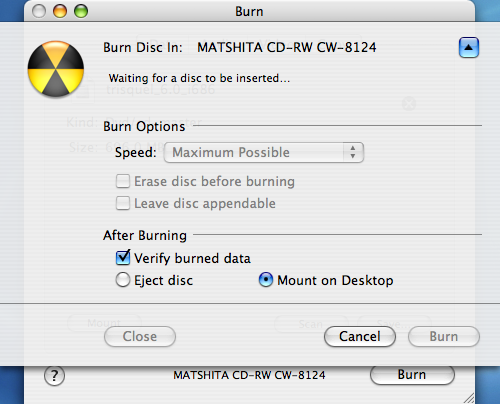
- Burning progress will be displayed while your disc is created.


