

Revision of Install Trisquel as a Server from Wed, 10/24/2012 - 23:07
The revisions let you track differences between multiple versions of a post.
In this tutorial I will show you how to install Trisquel Gnu/Linux as a Server. For this we will use the Trisquel NetInstall which is only 25Mb, and install (only) the necessary packages to have a fully customized Trisquel Server running.
Get the Iso
This step is quite simple, you only have to download the image from here: https://trisquel.info/en/downloadDon't forget to select Trisquel NetInstall. If you computer support X64 then choose it for maximum performance before downloading.
After this just fallow one of tutorial below (as an example) in order to burn the image and start the installation of Trisquel :
The Installation
This is the most important part since we are going to install Trisquel on the Hard Drive. For this example I will use the entire space of the Hard Drive but you can adjust it as you wish.
1 --> Start the Installation

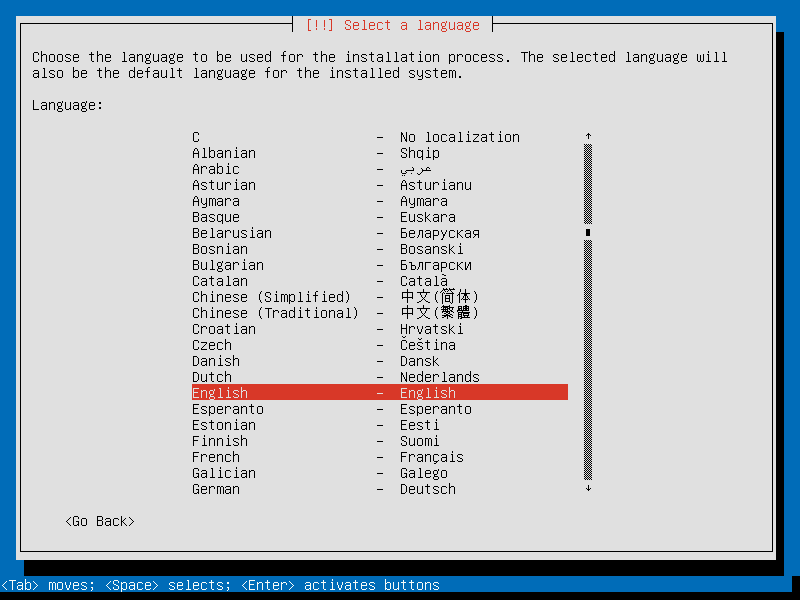
2 --> Select your Language
3 --> Select your Country

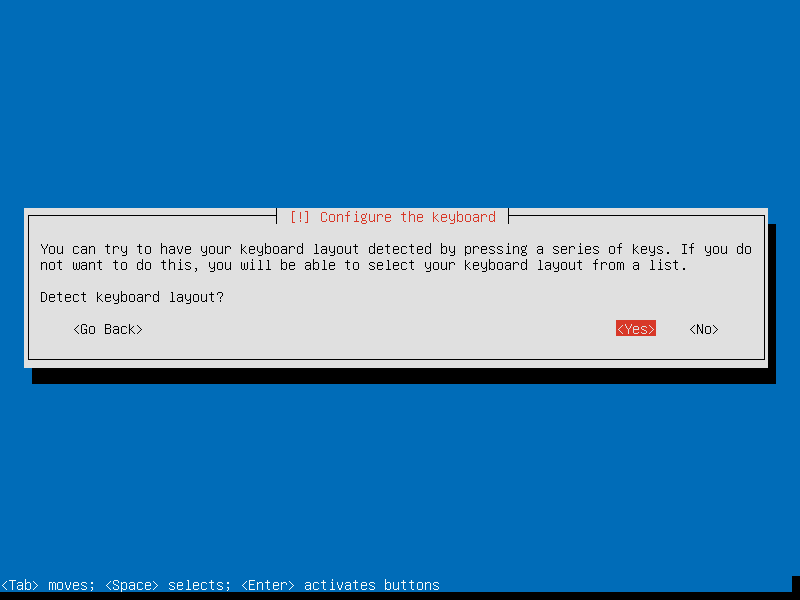
4 --> Press YES to configure the Keyboard Layout
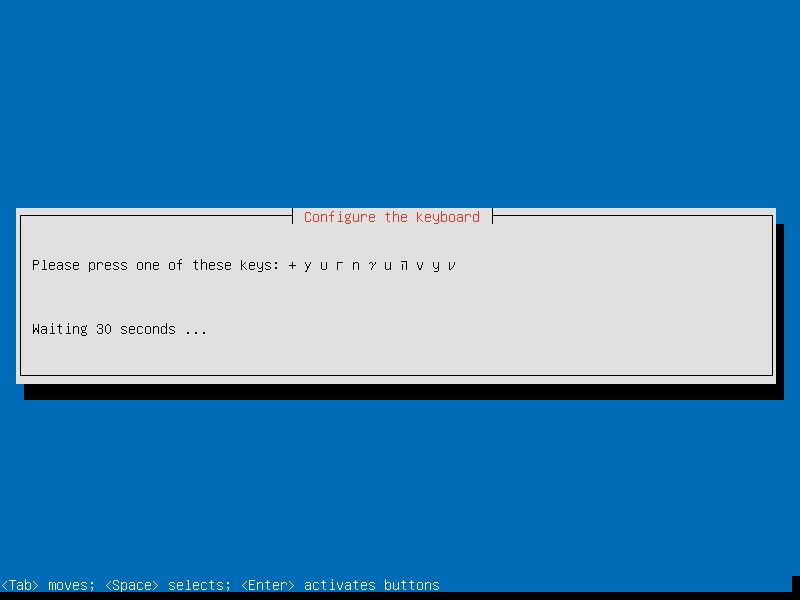
5 --> Press one of the keys that appear in the screen until your Keyboard is found
6 --> When your Keyboard Layout is found just press Continue.
Since I have a Portuguese Keyboard (pt) it is normal to see "pt" appearing instead of "us" for example.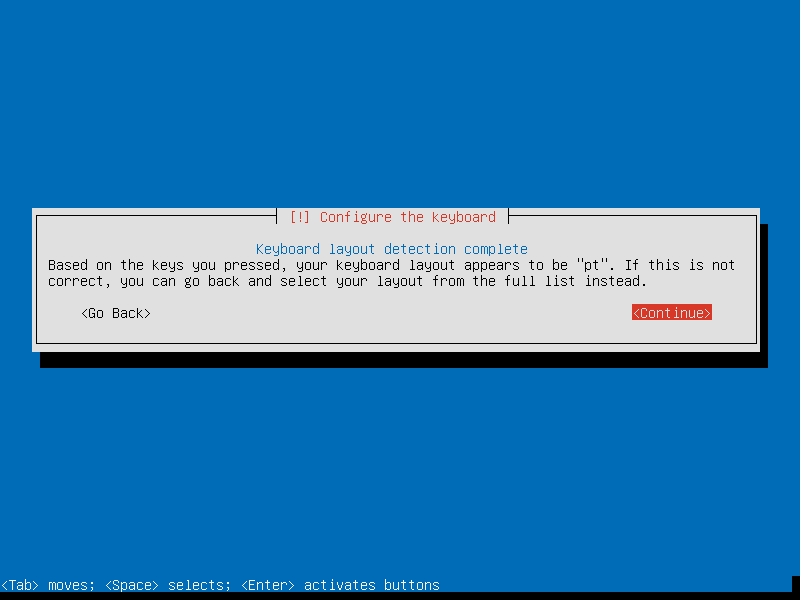
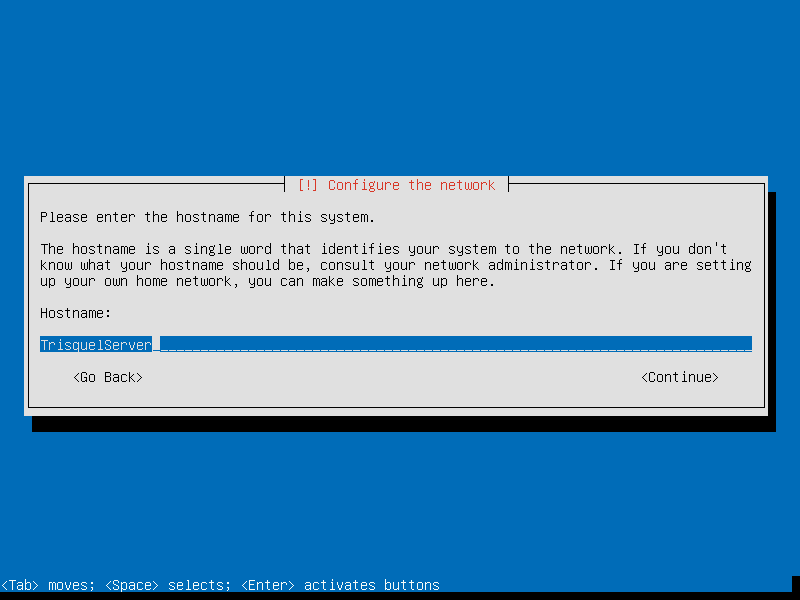
7 --> Enter Hostname for the Installation (The name that will appear on the Network)
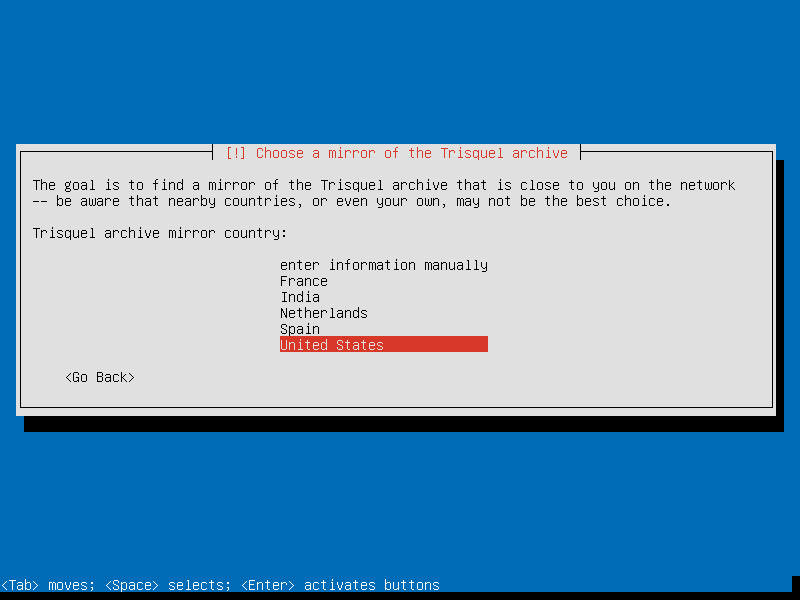
8 --> Choose the Country Mirror the less far from you
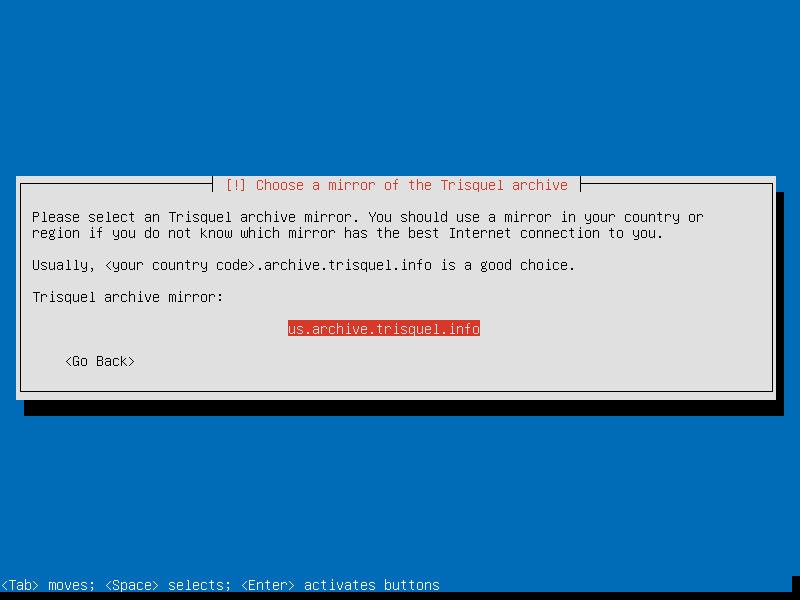
9 --> Press Enter over the mirror you want (in that Country)
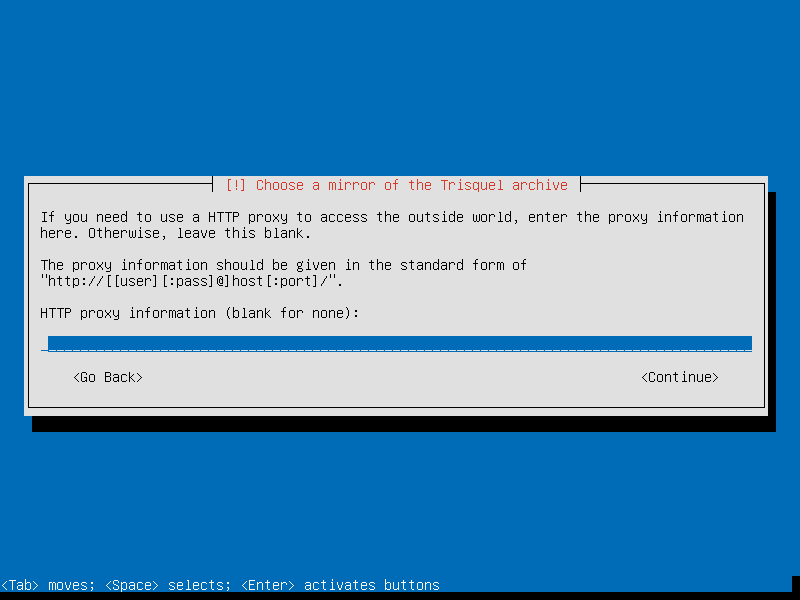
10 --> If your network is under a proxy then type Proxy Information. else Press enter
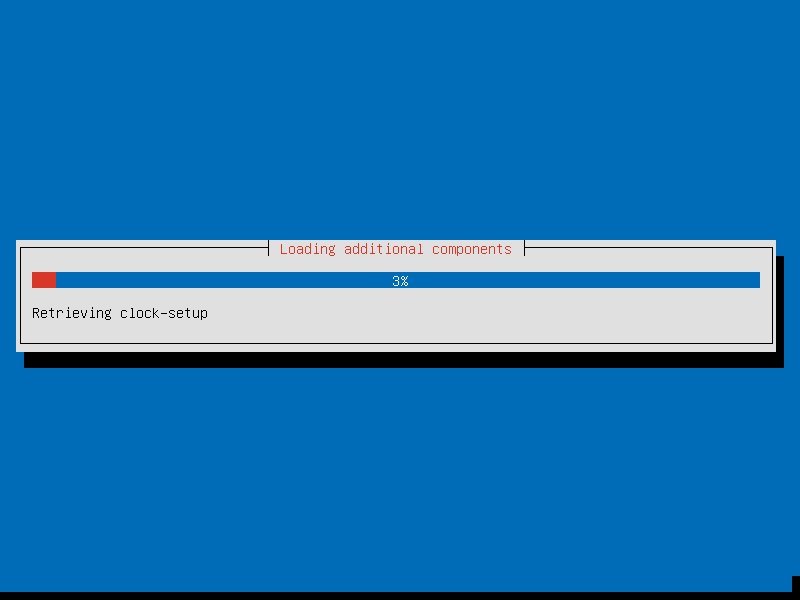
11 --> A blank "Loading" screen will appear, don't worry it will take some time

12 --> After the "Loading" screen there will be a screen for additional components (just let it work)
13 --> Confirm you TimeZone
I live near Lisbon so it's normal to see (Europe/Lisbon)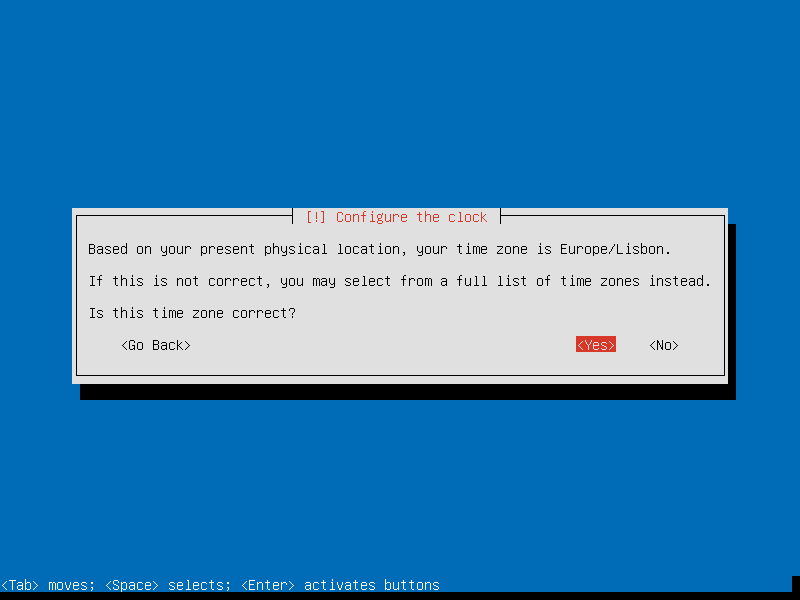
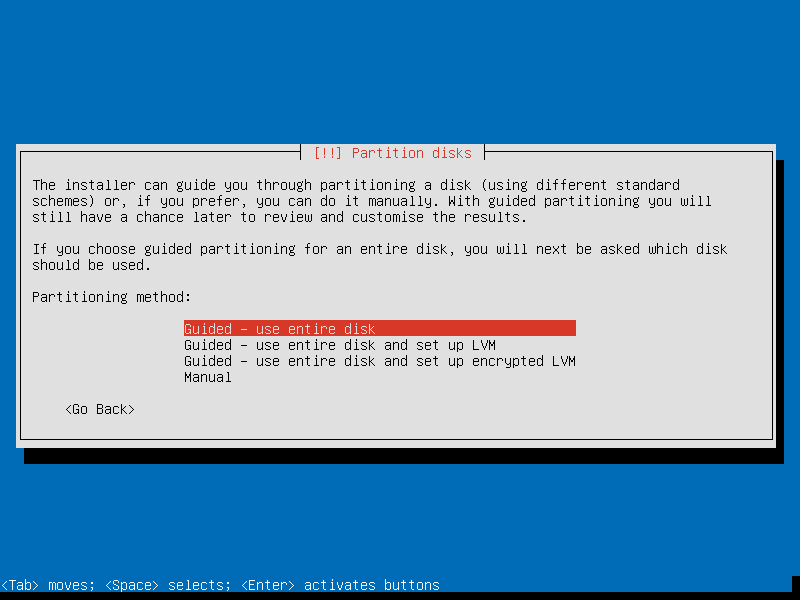
14 --> Partition the Disk (in this example we will use the Entire Disk)
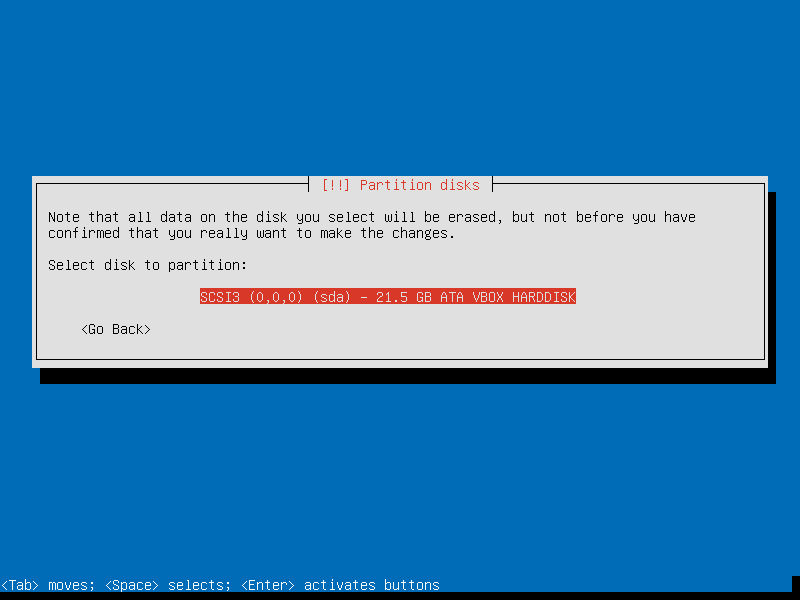
15 --> Select the Disk you want to partition
16 --> It will create a Swap Partition and an Ext4 Partition. You just need to press Enter

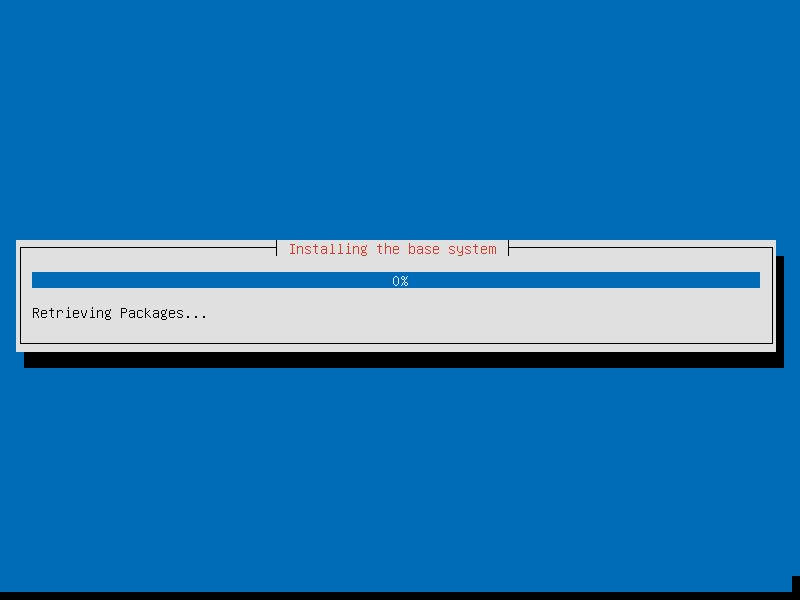
17 --> The partition will be done, and, after that, the Installation of the "base" will begin.
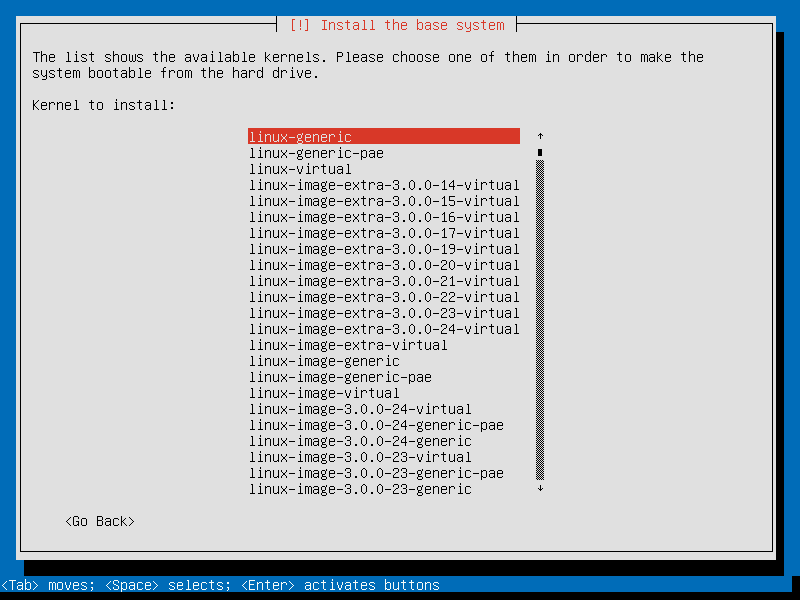
18 --> Select the Kernel you want
I recommend the linux-generic Kernel (or linux-generic-pae if you're using a x86 System with PAE support). In Trisquel 6.0 Toutatis you can choose the generic image; in previous versions, it's recommended to choose the "server" one
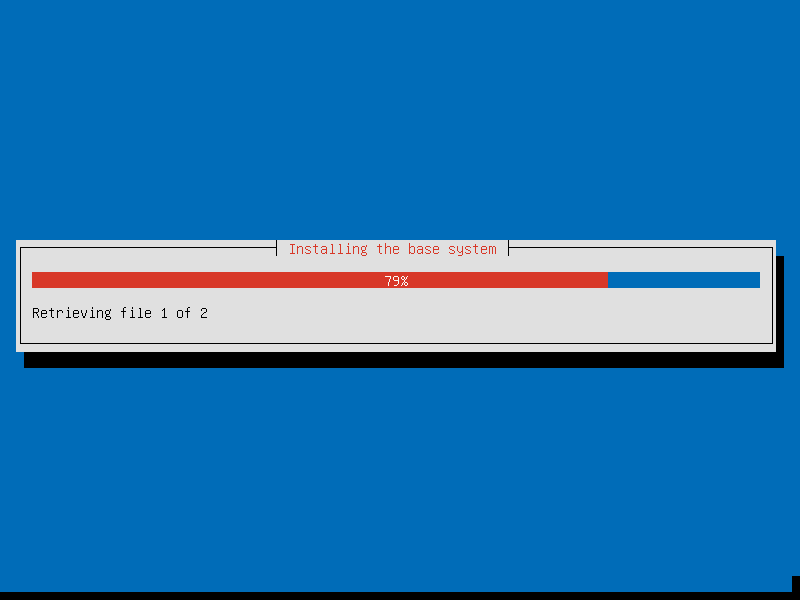
19 --> The installation of the Kernel (and the rest of the System) will begin
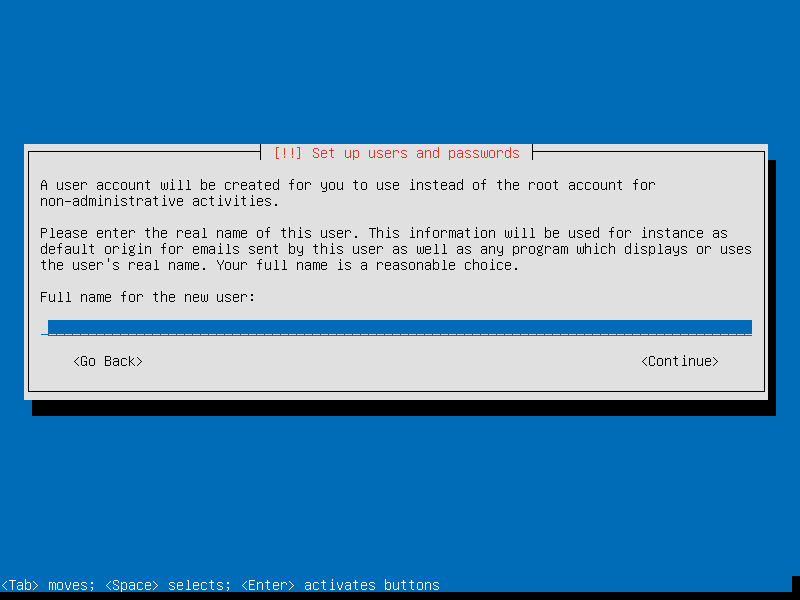
20 --> Type the Full Name of the User (And press Enter)
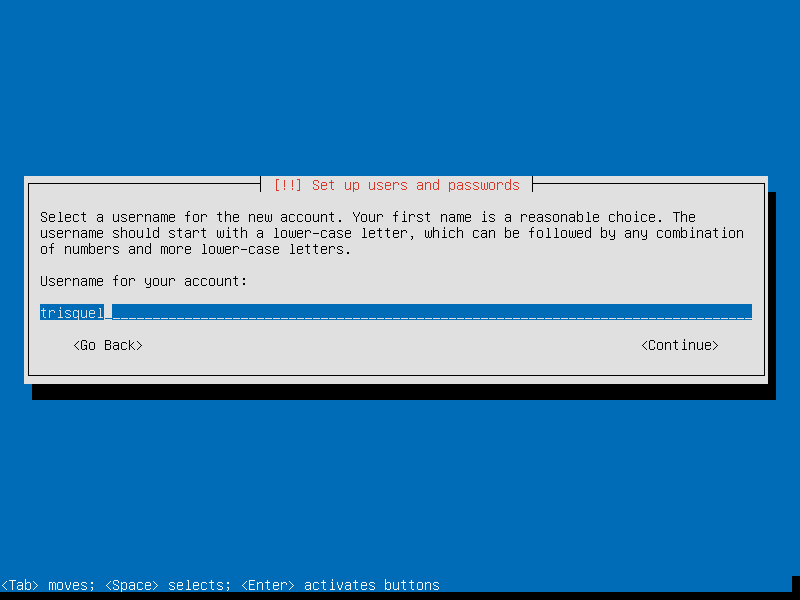
21 --> Type the Username of the User (And press Enter)
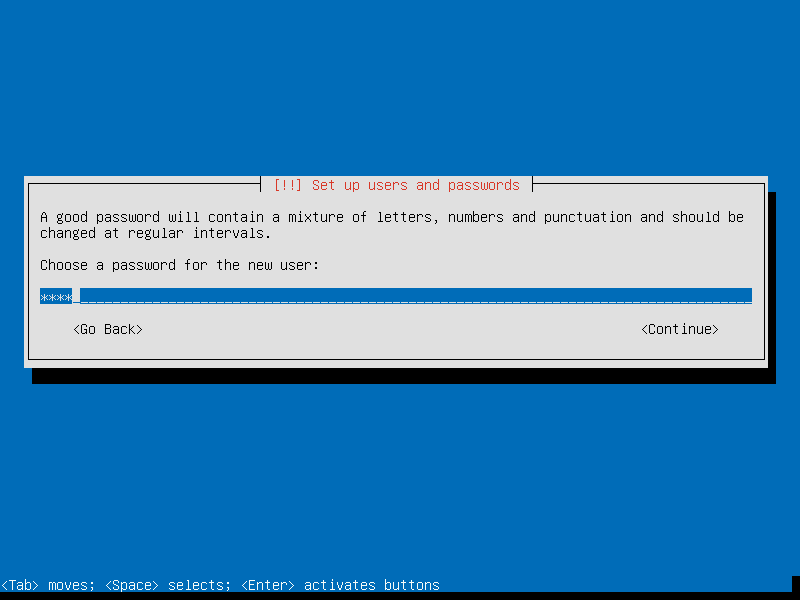
22 --> Type the password for the User account (And press Enter)
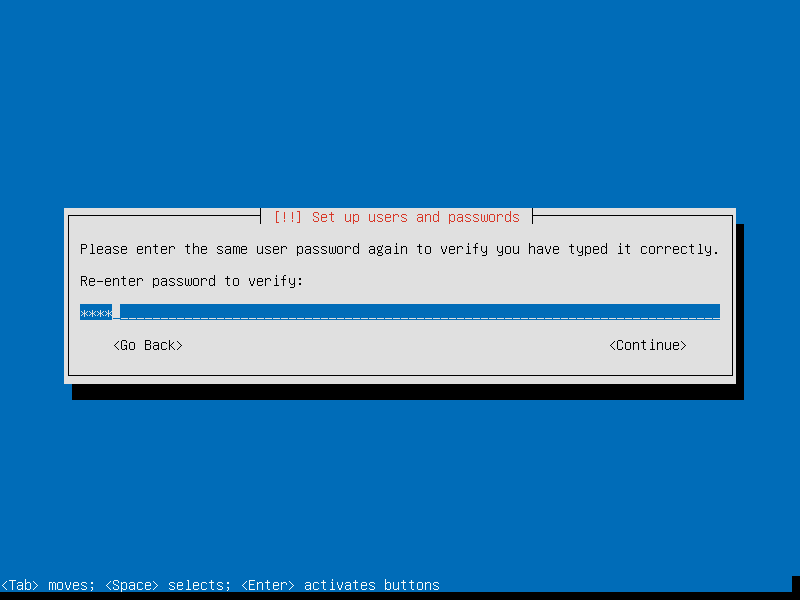
23 --> Re-Type the password for the User account (And press Enter)
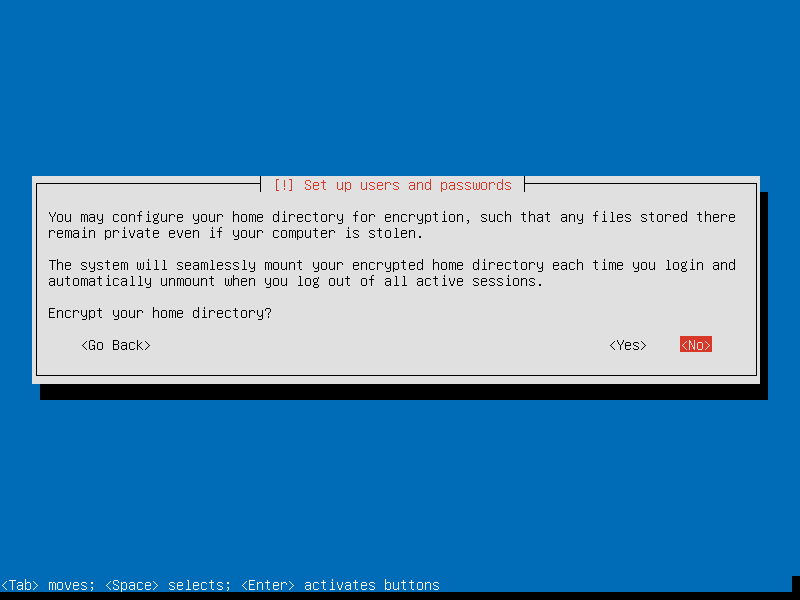
24 --> Choose if you want your Home Directory to be Encrypted (I recommend to do so, but with the only condition that you will never lose the password... or else you will have very bad time)
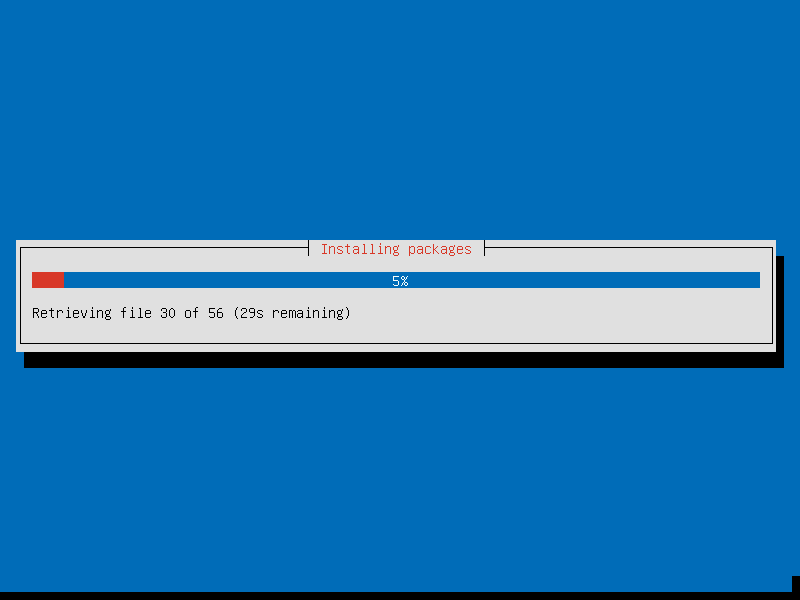
25 --> The latest packages available will be downloaded and installed (So no need to update after the installation)
26 --> Choose the update management of your System. (It is recommended to select the Automatic way if you don't want to be worried about this)

27 --> Choose what packages you want to install. For this example I will only install the Trisquel Console Environment. But if you want most of the (hard) work done then install GLAMP and OpenSSH (for example)

28 --> Select your email server configuration (As a WebServer, if you want to use the mail account anywhere select the "Internet Site" options)
Here are the available options:
- No configuration:
- Should be chosen to leave the current configuration unchanged.
- Internet Site:
- Mail is sent and received directly using SMTP
- Internet with smarthost:
- Mail is received directly using SMTP or by running a utility such as fetchmail. Outgoing mail is sent using a smarthost.
- Satellite System:
- All mail is sent to another machine, called a 'smarthost', for delivery.
- Local only:
- The only delivered mail is the mail for local users. There is no network.

29 --> Type the System mail name

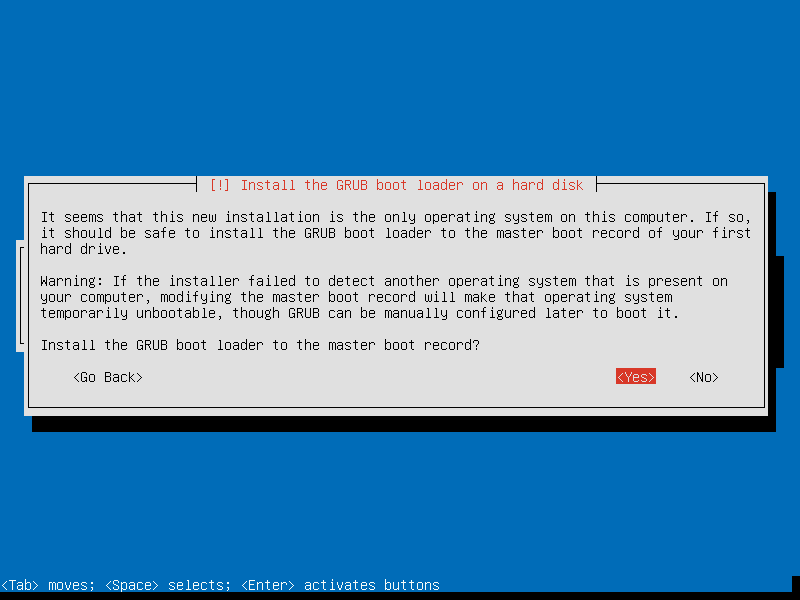
30 --> Select YES to install Grub (in order to start Trisquel at the start of the computer)
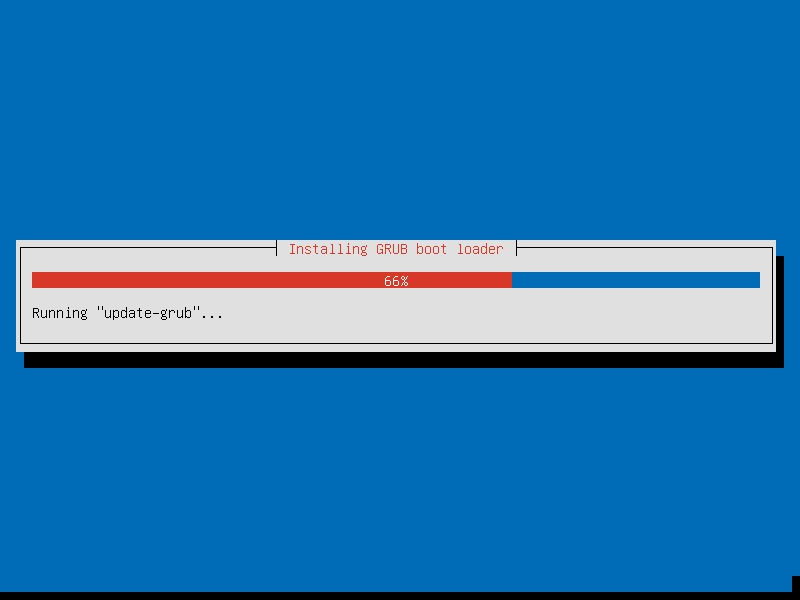
31 --> Grub will be Installed and the Installation will proceed

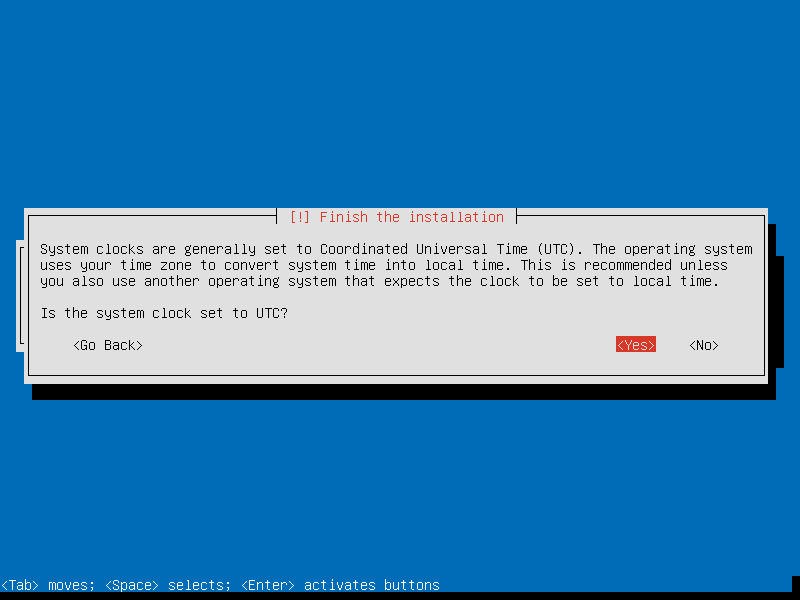
33 --> Confirm the System Clock (UTC is Recommended)
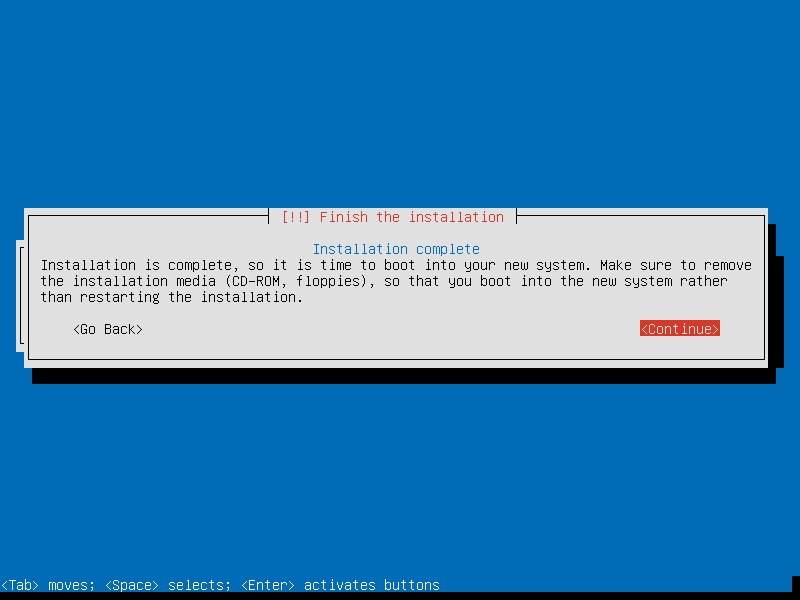
34 --> The installation has finished ! Just press Enter and don't forget to remove the CD or Pen you used to install Trisquel in order to boot directly into the System and not into the installation again.
And that's it. You have now a freshly installed Trisquel Gnu/Linux (with Only the Console Environment) that we will use as a Server.
You can go back to the Server Page in order to continue with the configurations.