Setup a Microphone
This wiki shows how to list, configure and test a capture device with Trisquel GNU/Linux. Testing a capture device requires a working microphone. Many laptops have a built-in microphone you can use together with this documentation. Using another microphone is also possible.
Contents
- Detecting microphone, configuring and testing it with "Sound Preferences" (Graphical)
- Detecting microphone, configuring and testing it with "arecord" and "alsamixer" (Terminal)
Using Sound Preferences
- In the Main Menu go to System→Preferences→Hardware→Sound
- Click on the Tab called "Hardware"
Here you will see the connected devices and capabilities they offer along with a profile to select.
There is also an option to test your speakers, if you have some.
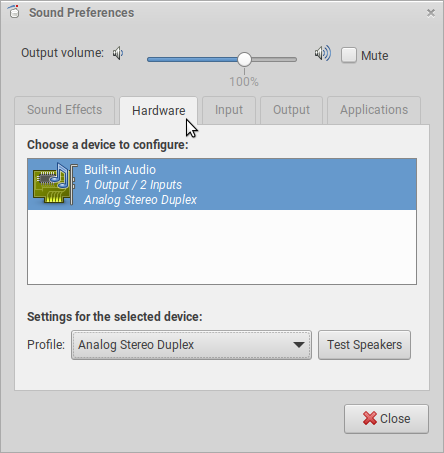
If you want to know if your capture device is setup correctly, you have to look for a device with an Input, which lets you capture incoming signals. An Output stands for outgoing signals. Duplex stands for signals that can go in both (incoming and outgoing) directions.
Hardware profile
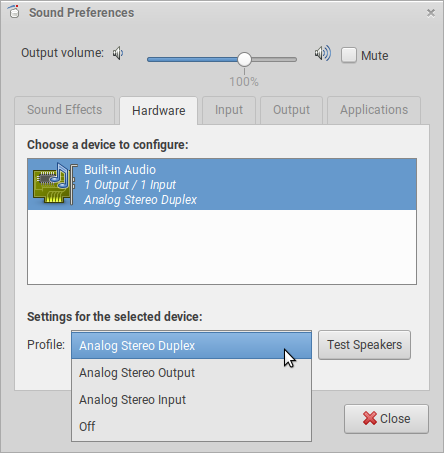
The profile setting of the Hardware tab lets you configure your sound device.
As described before there are incoming and outgoing signals, if your device offers these functionalities.
You can change the profile of your sound setting which can be used for enabling/disabling these functionalities.
With this setting you can select a profile to allow your system to handle sound in- and output. If you want to enable your microphone, the first and the last option is possible here.
The options in this example are:
- If you want to enable the In-and Output of your device, select "Analog Stereo Duplex".. I assume most users want this.
- Select "Analog Stereo Output" to only enable the speakers.
- Select "Analog Stereo Input" to only enable the microphone.
- Select "Off" to prevent the microphone and speakers to work.
Input preferences
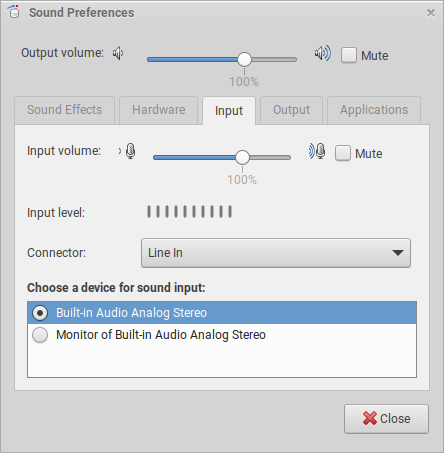
To select a sound input device, adjust the volume and test a microphone do the following:
- Select the "Input" tab in your Sound Preferences
Here you can:
- Adjust the Input volume or set it to "Mute" (which is the same as setting the volume to 0)
- Select the preferred "Connector"
- Choose a "device for sound input" if you have that option
If you want to test the functionality of your connected microphone, the "Input level" shows you the level of the incoming signal your system is processing. (If you see the window as shown below this function it is already active.)
Configure a capture device and testing it with a microphone in a Terminal
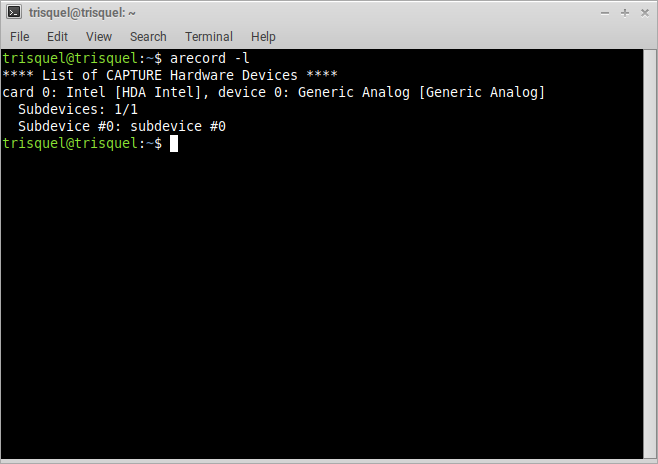
Detecting a capture device with arecord
Arecord is a command-line sound file recorder for the ALSA soundcard driver. You can also use it to list your capture device.
To list your capture devices in a terminal, first open a terminal with CTRL+ALT+t and run the following command:
arecord -l
Adjusting the volume with alsamixer
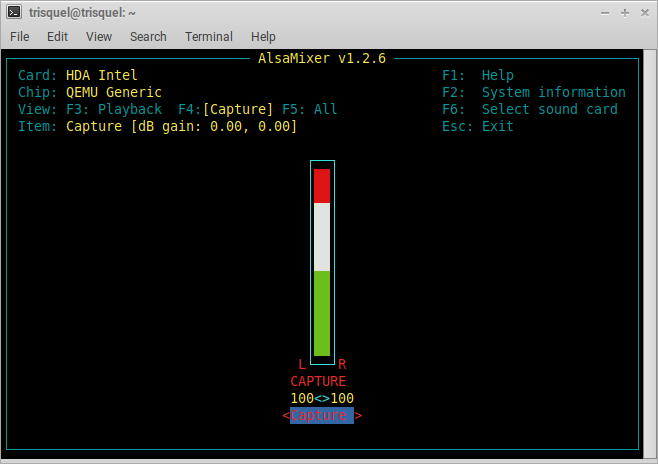
Alsamixer is a soundcard mixer for ALSA soundcard driver, with ncurses interface.
To adjust the volume of your capture device, run the following command in a terminal:
alsamixerThere are multiple options here:
- Press [F4] for entering the mixer for a capture device.
- Press [F5] to view the complete mixer settings.
To adjust the volume of the capture device:
- Select the correct device with <cursor-left> and <cursor-right>
- Adjust the volume of the selected device with <cursor-up> and <cursor-down>
Testing microphone and capture audio with arecord
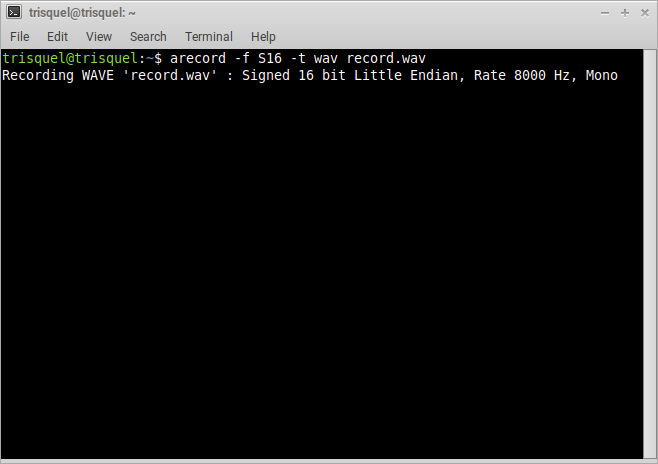
To test the default capturing device and record audio with arecord in a terminal, run:
arecord -f S16 -t wav record.wavThis command will execute arecord and start to record using the default capturing device with signed 16 bit in WAV format and save the recording in the file "record.wav".
