

Samsung Chromebook v1 Kevin Support Group
The following documentation is a summery of what has been discussed in the forum post here. Though, it was original meant to be a guide specific to the Canoeboot compatible device known as the “Samsung Chromebook v1 Kevin”, some of the info might be useful for other Trisquel’s Chromebook users.
Please feel free to make changes if you know of any improvements or more tips and tricks, and if it is still possible, post about them in the aforementioned forum post or share them with everyone on a new one with a similar name like “Chromebook support group Continuation”. I’ll be monitoring this manual too.
Install Trisquel
The current Trisquel 11.0.1 arm64 installer (here) has been reported to have problems starting on Canoeboot's supported arm64 Chromebooks. Originally reported on a no longer accessible forum post here, the problem arise after choosing "Install" while booting the install ISO. The screen stays black without any signal of activity or progress, while the expected behavior would be the start of the installation process.
To circumvent this problem, this tutorial here shows you how you can install Trisquel from a SD card Debian 12 installation until a better option is found and documented.
The package trisquel-desktop-common-recommended
All tasksel’s tasks to install any desktop environment like MATE, Plasma or gnome include the package “trisquel-desktop-common-recommended”, but you might have noticed that I excluded it in my "debootstrap" installation guide. The reason I excluded it is that its installation was throwing an unsolvable dependency error, from the package “trisquel-codecs” which requires “i965-va-driver” which is not available in the arm64 repository. Checking the short description of the package here shows the following:
VAAPI driver for Intel G45 & HD Graphics family
Since this computer doesn’t use Intel graphics, it is not something we will really need.
I haven’t really notice the need of the packages offered by “trisquel-desktop-common-recommended”, but I do want to have the closest experience to a regular fresh Trisquel installation.
Since “trisquel-desktop-common-recommended” it’s only a meta-package, you could find which packages it refers to and install them separately. In my case though, I opted to create a dummy package of “i965-va-driver” to circumvent “trisquel-codecs” dependency.
Do so it’s really easy, just follow this steps:
mkdir i965-va-driver

cd i965-va-driver

sudo apt-get install equivs

equivs-control i965-va-driver

vi i965-va-driver

Section: misc

Priority: optional

Standards-Version: 3.9.2

Package: i965-va-driver

Description: Dummy package for i965-va-driver

:x

equivs-build i965-va-driver

sudo dpkg -i i965-va-driver_1.0_all.deb

cd ..

rm -r i965-va-driver
Then you can install “trisquel-desktop-common-recommended” without any more complains.
I found this solution here: https://askubuntu.com/a/626912
Tablet mode
I noticed that desktops using wayland windowing system have a tablet mode. Desktop using x11 in the other hand do not. For example KDE plasma using wayland does, while plasma using x11 doesn’t.
MATE in the other hand uses x11 and doesn’t seem to offer tablet mode either.
The package “trisquel-gnome” installs both x11 and wayland sessions, but “triskel” only installs x11. Install “plasma-workspace-wayland” to get a wayland plasma session.
I my self have chosen to use gnome shell with wayland, because this machine seems to struggle with KDE plasma quite more.
Tablet mode is activated out of the box by turning the screen all the way to the back as this device was designed in order to be used as a tablet.
Tablet mode offers some benefits if the device's tablet functionality is planned to be commonly used:
- The screen rotates depending on the screen orientation. You’ll notice though, that unfortunately this functionality is inverted out of the box on Trisquel, but I’ll show you how to create a hwdb udev file to fix that.
- Context menu is triggered if the finger is keep pressed on the screen.
- Gnome shell shows a screen keyboard every time an input to type text is clicked with the finger out of the box. Plasma should have this too, but I couldn’t find the virtual keyboard package “maliit-keyboard” that is required on the repos, and after installation, it is needed to be chosen on the “virtual keyboard” section of the “input devices” plasma settings.
- Some applications have touch screen functionality. For instance Abrowser will let you scroll with a finger sliding, select text by keep pressing on a word in the text, and little arrows will be shown allowing you to move the start and end of a text selection, then a kept press of a finger will trigger the context menu to copy text.
- In plasma when tablet mode is activated, many graphical elements are resized and separated in such a way that they become easier to click using fingers. This include tittle buttons to close, minimize and maximize windows, program menus and the task bar icons. I really like it. Gnome doesn’t do this. I guess some elements can be change manually or there might be a plug in that could do it, but I ended up using 300% screen scaling without much of a problem, helping with my now tired sight.
To fix the reverse rotation all you got to do is to create the following file “/lib/udev/hwdb.d/61-sensor-local.hwdb” and its content should be the following:
sensor:modalias:platform:cros-ec-accel:*

 ACCEL_MOUNT_MATRIX=-1, 0, 0; 0, -1, 0; 0, 0, -1
Finally run “udevadm hwdb --update” and reboot the system.
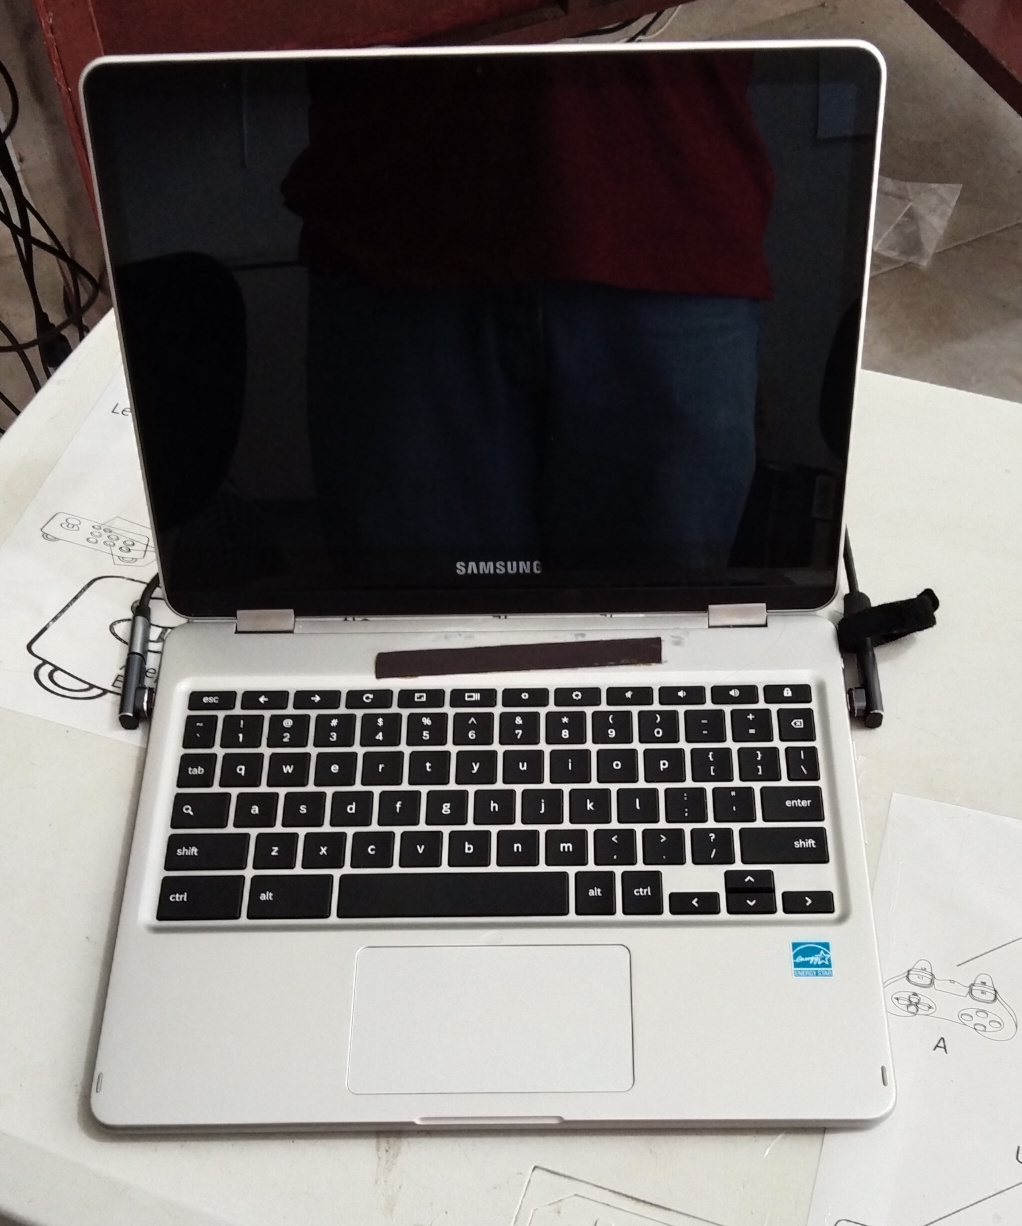
Intended Keyboard Layout Functionality
Chromebook keyboards intended functionality might be a little different to what we are used to:
Super key is located where the “Cap Lock” usually is. The key is labeled with a magnifying glass symbol. To trigger “Cap Lock” you are suppose to use it in combination with the third level key “Alt Gr”. To use “Delete”, you must use the “Backspace” in conjunction with the second level key “Shift”. All function keys 1 to 10, are replace with different media and system shortcuts. And finally, Home, End, PgUp and PgDn, can be access by using AltGr and the cursor keys.
Trisquel doesn’t detects the keyboard model on its own to get this functionality working out of the box, so you will need to stablish it on your own.
In MATE and Plasma it’s very easy to stablish the keyboard’s model, since all you got to do is to enter on their respectively keyboard configurations system dialog, where we will be able to find a “Keyboard Model” option and chose “Chromebook”.
Gnome requires a work around to make it work. To do so: add “myoptions:chromebook = +inet(chromebook)” under the line “! option = symbols” at the “/usr/share/X11/xkb/rules/evdev” file. Then add “myoptions My customized options” and “myoptions:chromebook Sets chromebook layout” under “! option” at the file “/usr/share/X11/xkb/rules/evdev.lst”. Finally run the following command within your user:
gsettings set org.gnome.desktop.input-sources xkb-options "['myoptions:chromebook']"
Unfortunately, this workaround will be deleted if we ever need to update the “xkb” package. Read more about this workaround here: https://unix.stackexchange.com/a/215062
Customizing the keyboard layout
I have several issues with the intended functionality of Chromebook keyboards:
- No access to any function keys in anyway, and even if there was, I would preferred them to be function keys first, and media+system shortcuts second.
- I’m very used to move my cursor and selecting text using Home, End, PgUp and PgDn. Even though, all of them are accessible using AltGr and the cursor keys, they don’t work in conjunction with Shit and/or Ctrl.
- I wish the “Suspend” key found on the top right corner with a lock icon could had been a “Delete” one instead.
Thankfully I was able to created a custom keymap using xkb with all this changes. I have attached the necessary files to use it. You might follow this steps to implement it:
- Place “mysymbols” at “/usr/share/X11/xkb/symbols/” and “mytypes” at “/usr/share/X11/xkb/types/”. Be sure to delete the .txt extension on all provided files.
- The following steps can be done in different ways, but I’ll show you the one that will be warranty to work in gnome, MATE and Plasma:
- Add “myoptions:chromebook = +mysymbols(chromebook)” under the line “! option = symbols” (or change it to that if you already did it in my last post title “Intended Keyboard Layout Functionality”) and “myoptions:chromebook = +mytypes(chromebook)” under the line “! option = types” at the file “/usr/share/X11/xkb/rules/evdev”.
- Add “myoptions Custom options” and “myoptions:chromebook Chromebook custom keys” under the line “! option” in the file “/usr/share/X11/xkb/rules/evdev.lst”. Just in case you didn’t understand this last two steps, I’m adding my files too.
- Finally change the variable “XKBOPTIONS” in the file “/etc/default/keyboard” so that it is equal to “myoptions:chromebook”.
- Reboot and enjoy.
Use AltGr to access media/system shortcuts on MATE and Plasma. For gnome unfortunately, you will have to configure them one by one on gnome settings using a different set of key combinations, since I couldn’t make them work. Other than that, everything works as I hopped for.
It is important to say, that this keymap is independent of the language layout, you might want to use, so feel free to choose any language layout that you might want/need.
Step 3 and 4 will be erase if xkb ever receives a system update. I doubt that it’ll be very often though, but it’s something good to know.
ATTACHMENTS
https://trisquel.info/files/evdev.lst_.txt
https://trisquel.info/files/evdev.txt
https://trisquel.info/files/mysymbols.txt
https://trisquel.info/files/mytypes.txt
NOTE: As I mentioned, I couldn't make the media key work by using "AltGr" in gnome so I suggest to establish a custom shortcut for them in the keyboard shortcut config dialog. The volume controls are there, but I found that the screen brightness controls are not. Use the following commands to establish them instead like so:
gsettings set org.gnome.settings-daemon.plugins.media-keys screen-brightness-up "['<Ctrl><Super>F7']"

gsettings set org.gnome.settings-daemon.plugins.media-keys screen-brightness-down "['<Ctrl><Super>F6']"
Error: invalid environment block.
A recurrent message is shown by grub every time the computer is booted. Thankfully it doesn’t prevent the system to actually start, but it might be a little annoying since it asks you for a key press to continue on every boot, which ends up triggering my OSD.
I have been able to track an unusual behavior on the file “/boot/grub/grubenv”. Its content is some what corrupted. The following command could be used to regenerated but it only works for a one good boot without this error. After it, the file gets corrupted once again:
grub-editenv /boot/grub/grubenv create
If the file is edited, by using “grub-editenv grubenv set default=0” as an example, its content is reflected on its corrupted contra part, so is not as if the corrupted file is generated by some other process I guess.
All this remind me of what is described in the Canoeboot's doc on installing Debian here where is mentioned that it is recommended to leave some space (100 MB) empty before the first partition to prevent the partition to be corrupted. Unfortunately I tried that but it seems it did not help in my case. Also, my first partition is the efi partition and using “fsck -f” didn’t found any corruption in neither the boot or the efi partitions, and running fsck didn’t fixed the grubenv file. No other file seems to be corrupted in /boot. I even left 100MB space between each partition but no luck there :/
Anyway, this does not happen with Debian 12 at all even if no space is left, so I’m hopping there might be a chance that it would not show up in the next Trisquel release.
I guess that running a cron task with “grub-editenv grubenv create” on every reboot could be a workaround? In my case I installed grub in an SD card that is always connected to the computer and there the error does not show at all. In my next post I’ll show how I installed a second Trisquel instance in the SD card which is how I did it.
If some one knows what I could tried please let me know. I have tried what is shownt here so far: https://askubuntu.com/questions/1473251/grub-error-invalid-environment-block-on-booting-updating-ubuntu-server-20-04/1473927#1473927 but nothing worked in my case.
mmc1: error -5 whilst initialising SD card
While using one of my SD cards I own I got the following messages while booting the system with the card inside the SD slot:
mmc1: tuning execution failed: -5

mmc1: error -5 whilst initialising SD card
After the system has started, the SD card is not shown to be connected at all, even when using “lsblk”. The only way to see it is if the SD is pulled out and plug back in.
This will be meaningful in my next post, where I describe how you could use an SD card as the place to hold your home directory to increase your user file space, specially considering this machine’s internal MMC is only 32GB.
For now, what I found is that I could use a different model of SD card and it will work no problem.
Looking for a possible solution, I read that the problem seems to be related to the Linux kernel, but updating to the latest libre linux by jxself didn’t help. It appears there is also a solution which cost you to cut the reads of your SD to 10MB/sec. Considering all this, your best bet is to buy a newer SD card model like I did.
Using the SD slot to extend disk space
Since this device internal MMC drive is only 34 GB, you might want to use a SD memory card to extend space for files. During Gnu/Linux installation processes I’ve seen, it’s is very common to see the option to separate the root directory “/” and “/home” in separate partitions. One way this is useful is that you might install a different system in root without needed to format your user files in home.
Until recently I didn’t understand how this was stablish on the system, but if you followed my Trisquel’s installation tutorial using debootstrap, you probably know this are set in the /etc/fstab file. What you might be interested to know as I was is how a separate encrypted LURK partition could be used along side our already created LURK. To this end, multiple encrypted lurks partitions can be set at /etc/crypttab and a “key file” could be used as well, so that if both lurks have the same password, you will only have to provide its password only once. To this end, it’s also require to use option “keyscript=decrypt_keyctl”. The following is my crypttab file:
# <target name> <source device>         <key file>      <options>

CryptDisk UUID=40db34d2-950d-41bc-b2bc-f6cdd8247529 CryptDiskGroup luks,keyscript=decrypt_keyctl

CryptDisk2 UUID=187b00c2-ce49-4995-8be2-e81370ac3f17 CryptDiskGroup luks,keyscript=decrypt_keyctl
Here I have two lurks partitions that I have decided to name “CryptDisk” and “CryptDisk2”. Both are sharing the key file “CryptDiskGroup” and have the option “keyscript=decrypt_keyctl”. This way, since both partitions have the same password, I only have to provide it once during boot.
Again, if you follow my tutorial here to install Trisquel, you will know that the commands “cryptsetup”, “pvcreate” and “vgcreate” can be used to create the desired LURK encrypted partition and volumes, for instance to create second virtual volume called “vg1” where a ext4 partition could reside and be label home to be used as the /home partition, in which case you could use the following fstab entry to stablish it as home:
/dev/mapper/vg0-root / ext4 errors=remount-ro 0 1

/dev/mapper/vg0-swap none swap sw 0 0

/dev/mapper/vg1-home /home ext4 errors=remount-ro 0 1
One thing I did and wanted to share though, is how you could install a second Trisquel instance in a SD card. I feel this could be useful because it will help you to have a backup system, since currently there doesn’t seem to exist a arm64 live iso distro anywhere. It’s also nice we would be able to use our Trisquel installation instead of Debian this time. All you really need to do is to follow the same tutorial I made but use the SD card as the target for the installation. With this purpose we’ll need to replace the following device names and labels as such: mmcblk0 to mmcblk1, CryptDisk to CryptDisk2, and vg0 to vg1. It’s also possible to add both Trisquel installations to the grub boot list, all that is required is to have both system lurk partitions opened during the “update-grub” command (make sure to have "GRUB_DISABLE_OS_PROBER=false" in /etc/default/grub). This works great because Canoeboot uses SD card as the first boot medium, and it circumvents the problem I described in my previous post title "invalid environment block.". Then you can change grub’s default system to be the system installed in the internal mmc. I recommend to have both partitions unlocked on system boot by doing what I described in the beginning of this post.
I personally do not like to separate the root directory from home in separate partitions, mainly because some times you might run out space on root. But I wanted to share the home directory on both installations. To do this you might use a fstab similar to mine:
/dev/mapper/vg0-root / ext4 errors=remount-ro 0 1

/dev/mapper/vg0-swap none swap sw 0 0

/dev/mapper/vg1-root /mnt/vg1-root ext4 errors=remount-ro 0 1

/mnt/vg1-root/home /home none bind
As shown, I first mount vg1-root from the lurks located in the SD card in a directory I created with mkdir located in “/mnt/vg1-root”. After that I bind mount it’s home directory into the local home directory.
In a different note, using the following command I was able to test the read speeds of my internal MMC and my SD card:
hdparm -Tt /dev/mmcblk0
Where I found that my internal MMC read speed was 247.94 MB/sec while my SD Card was only 65 MB/sec. I didn’t look for a particularly fast SD, I’m guessing I could have paid for a faster one, but to be true I haven’t found a different between the system performance from booting from the internal MMC and the SD card. I still thought that using the internal MMC, at least for the root partition, was a good idea, and I might encounter a use case for the faster read speed in the future where it will make a significant performance difference.
Gnome shenanigans
Since I've chosen and recommended gnome as the desktop to be used on this computer (click here to see my reasoning), I want to use this section to share the solutions I've found for some of the problems I've encountered with gnome. For example:
I found that the "Add/Remove Applications" application, struggles when requesting root permission while trying to install or remove a program, the password prompt is never shown. This seems to be a well known gnome Wayland related issue. The problem can be resolved by starting the program as root from the beginning, so when the moment comes, no extra permission is requested. This is easy to do from terminal with "sudo -H program", but I wanted to implement it to the menu trigger using the GUI. "pkexec" seem to be gnome's gtksudo equivalent, but using it requires some extra steps than just calling "pkexec program". The following page here shows a lot of ways this might be accomplish, but for what I gather, the intended way (and the only way it worked for me for what I’m trying to do) is to create a file into “/usr/share/polkit-1/actions”. This file is simple enough to create. I have attached it to this post. To implemented it, you might run the following commands.
sudo cp <my attached file> /usr/share/polkit-1/actions/com.ubuntu.pkexec.trisquel-app-install.policy

cp /usr/share/applications/trisquel-app-install.desktop ~/.local/share/applications/

sed -i "s/^Exec=.*/Exec=pkexec trisquel-app-install/" ~/.local/share/applications/trisquel-app-install.desktop
You may need to open and close the activity menu twice before the changes take effect. You'll know it worked because it will request an admin password at the start.
ATTACHMENTS
https://trisquel.info/files/com.ubuntu.pkexec.trisquel-app-install.policy.txt
Touchpad
Another gnome related thing to know, is that the right click is done using two fingers in the touchpad, and scrolling requires to use two fingers moving both to the same direction: I really straggled with this last instruction since I thought that the correct gesture was to leave one of the fingers still. It is possible to change the touchpad scroll gesture so that the corners of it can be used instead on gnome's settings, but I always trigger it by mistake when my palms rest unintentionally on the touchpad, and the aforementioned gesture works well too.
Kernel magic key
There is a key combination sequence that can be used to recover control of your system if it ever gets frozen. In my user experience, this shouldn’t happen very often if ever, and if it does, you should find the cause of it and not relay on this combination often. Never the less, it is good to have the option to use it just in case.
Unfortunately, the sequence requires the use of the “Print” key, and our Chromebook keyboard doesn’t have it and changing its layout as I described in my post here titled “Customizing the keyboard layout” won’t help in this case. But all hope is not lost, we can still change one of the keys so that it operates as the “Print” key in such a way that it will work, using a udev rule. To this end, I have chosen to use the key on the top right corner labeled with a lock symbol.
All you got to do is create the file “/etc/udev/hwdb.d/90-keyboard-mapping.hwdb” with the following content:
evdev:input:b0006v0000p0000e0001*

 KEYBOARD_KEY_39=sysrq
Then run the following two commands:
sudo systemd-hwdb update

sudo udevadm trigger
You might need to restart your computer to take effect, but you will notice that if the aforementioned lock key is used now, it will trigger the “Print” key.
Now, if you want to keep using it as the “Delete” key, as my “Custom layout” post suggested, you may download the “mysymbols” file I’m attaching, to replace the old one. All I did is replace now the “Print” key to the “Delete” key, having the option to access “Print” using the AltGr key (does not work on gnome though).
To be frank the only magic sequence that I know and that you might try is: Keep pressing left Alt the whole time, then press the following keys in order: the “Magic Key” (“Delete” now), R, E, I, S, U and B, and the computer will restart.
To now exactly how you can change the magic key please see this reference: https://community.mnt.re/t/remapping-keyboard-without-firmware-modification-adding-sysrq-key/687
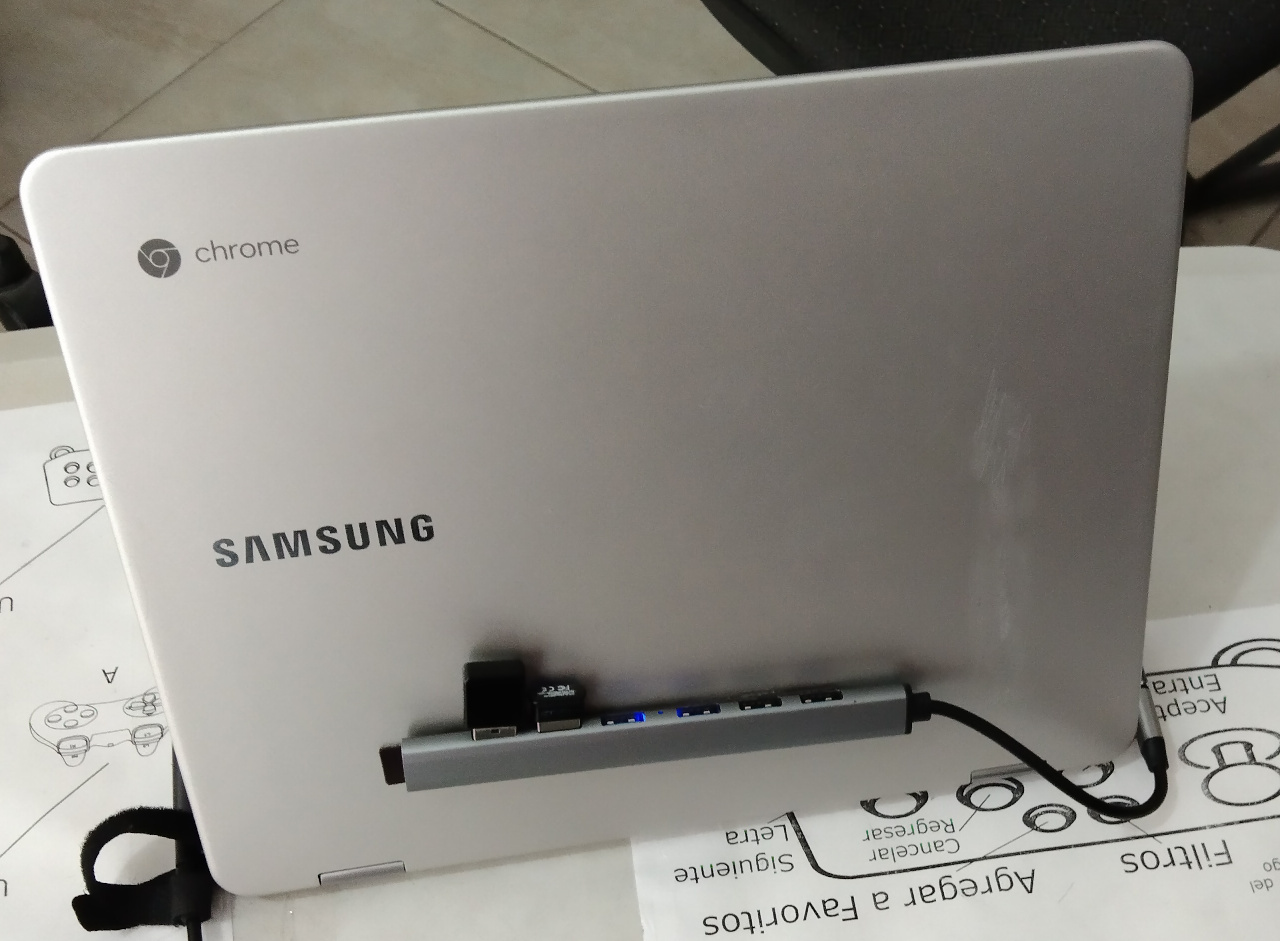
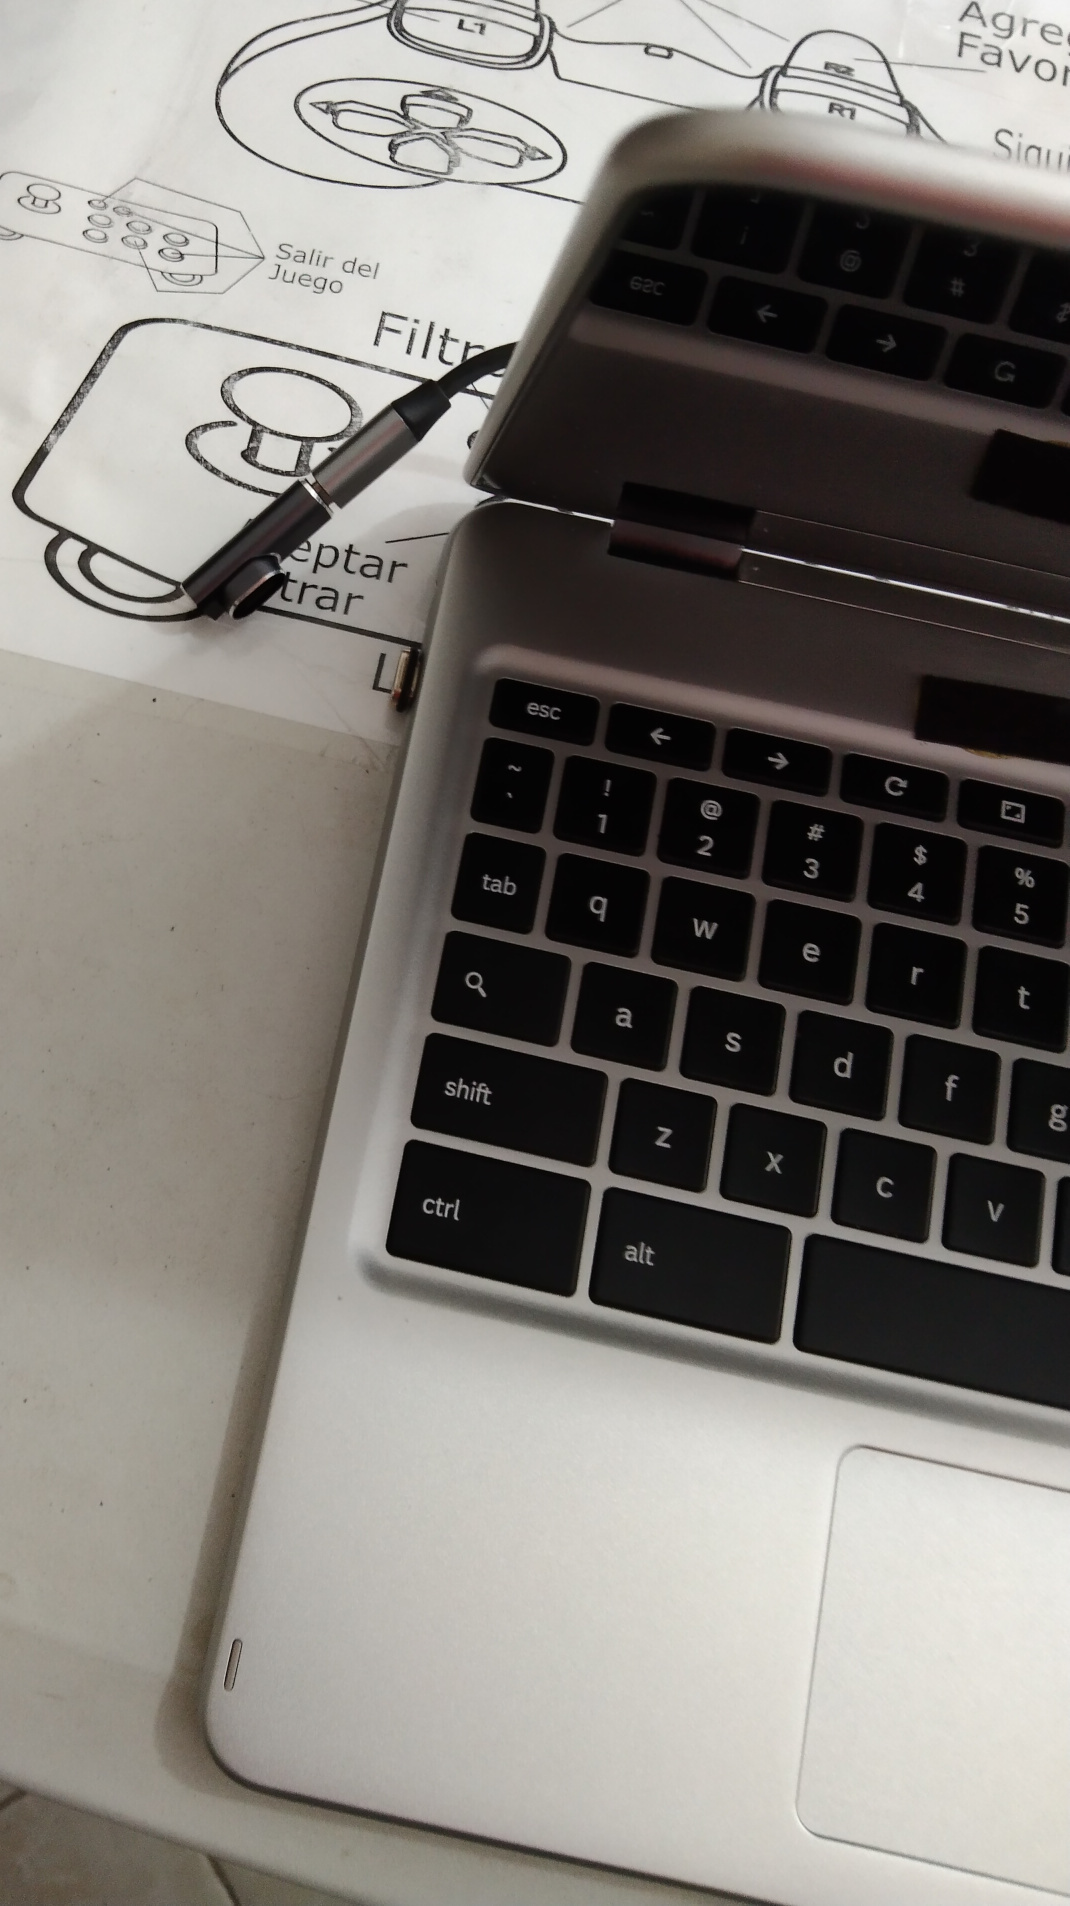
No USB A
FOR ALL ENGINEERS: Viewer discretion is advice.
I really have fallen in love with this device, and I wouldn't necessarily change it with a another one, but there a couple of things that have to be addressed:
- Lack of any socket to update the internals
- No USB A
- The wireless inside doesn’t currently work with free software
I believe it's very likely that all Canoeboot supported arm64 Chromebooks share points 1 and 3. In the case of number 3, I would normally add a mini USB A card from think penguin to the computer to solve it, but this computer doesn’t have a USB A port. Other Canoeboot supported arm64 Chromebooks (like ASUS Chromebook Flip C101 gru-bob) have one, and maybe, it would had been better (aesthetically speaking) if I had bought one of those instead. But I really like this device form factor, and I’m sure it helped not to have a USB A for that.
I did wanted to keep this computer portability and I wanted to share how I did it and some of the mistakes I made so you may not repeat them.
Now, I’m sure some would prefer to pull their eyes out rather than seeing what I’m about to share, but I’m attaching some pictures. All I did is to add a L share magnetic coupling to a thin “USB C to multiple USB A” hub. Then I added a magnetic strip to both to the USB hub and the back of the machine, so that I can hang the USB hub on the back. Same thing in the front in case I want to use the tablet mode. I think it works well enough and I’ll love to hear what you guys would do if you were to do something similar. Since the magnet is so week, I’m hoping it would not affect the computer in any way.
Now that I think about it, One USB A wouldn't had been enough for me anyway, since I really like to use Bluetooth hear buds and mouse, so touche! I don’t make bad decisions. Except:
Advice 1: I’m sure this should had been a given but: Don’t use super glue. I first used one we have in Mexico called “kola loka” and I have regretted it ever since. It didn’t glue a thing but the nice paint of the machine got, again, predictably messed up.
Advice 2: Beware of the thickness of what you might be using to paste things. I tried using those fluffy double side tapes and the computer wouldn't close in both ways, tablet or to the front.
Advice 3: Originally I thought Velcro could work, but the bond was to tough for my liking. Also, I originally used a wide Velcro tape and I couldn’t close the lip either.
Advice 4: I ended up using something we called “glue 5000”, I thought it was named the same way in English but I couldn’t find it as such. It is yellow, and it might be considered still a little too aggressive, but I have been able to take it off with a plastic spatula without harming the paint. I didn’t tried silicone hot glue, but in my experience it doesn’t make a strong enough bond and that’s why I never tried it at all.
So yes, I’m team “jank it”. I really identify my self with the youtuber called “bringus studios”, his “engineering” skills are as good as mine and I love his video for it. And if you ask me, I would do it again (goofy style).
ATTACHED PHOTOS:

The package trisquel-desktop-common-recommended
So all tasksel’s tasks to install any desktop environment like MATE, Plasma or gnome include the package “trisquel-desktop-common-recommended”, but you might have noticed that I excluded it in my debootstrap installation guide. The reason I excluded it is that its installation was throwing an unresolvable dependency error, from the package “trisquel-codecs” which requires “i965-va-driver” which is not available in the arm64 repository. Checking the short description of the package here shows the following:
VAAPI driver for Intel G45 & HD Graphics family
Since this computer doesn’t use Intel graphics, it is not something we will really need.
I haven’t really notice the need of the packages offered by “trisquel-desktop-common-recommended”, but I do want to have the closest experience to a regular fresh Trisquel installation.
Since “trisquel-desktop-common-recommended” it’s only a meta-package, you could find which packages it refers to and install them separately. In my case though, I opted to create a dummy package of “i965-va-driver” to circumvent “trisquel-codecs” dependency.
Do so it’s really easy, just follow this steps:
mkdir i965-va-driver

cd i965-va-driver

sudo apt-get install equivs

equivs-control i965-va-driver

vi i965-va-driver

Section: misc

Priority: optional

Standards-Version: 3.9.2

Package: i965-va-driver

Description: Dummy package for i965-va-driver

:x

equivs-build i965-va-driver

sudo dpkg -i i965-va-driver_1.0_all.deb

cd ..

rm -r i965-va-driver
Then you can install “trisquel-desktop-common-recommended” without any more complains.
I found this solution here: https://askubuntu.com/a/626912