How to Rip an Audio CD
Rip audio CD or specific CD tracks with Rhythmbox
Trisquel comes with the music player and management system called Rhythmbox. It supports many formats, internet radio, playlists and syncing devices. The supported formats depend on the GStreamer plugins that are installed. Rhythmbox also supports easy ripping of audio CD tracks and the organization of your library.
1. Insert an audio CD and start Rhythmbox
When you insert an audio CD, you should be asked what to do, if you haven't changed any defaults. Choose "Open Rhythmbox Music Player" and click "OK"
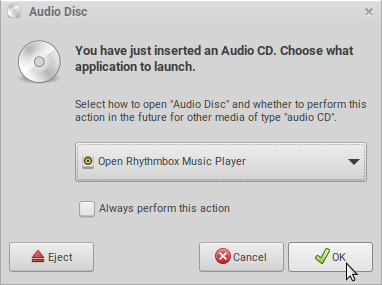
Alternatively, you can start Rhythmbox by right clicking on the desktop icon of your audio CD and choose "Open With->Rhythmbox".
If you want to use the command line, start rhythmbox following with the device name of your CD drive. If you are not sure about the device, use lsblk:
lsblkIn this case the CD drive is listed as sr0. So we use this command:
rhythmbox /dev/sr0
2. Set up the preferences
Before ripping audio CDs, take a look at the preferences dialog, that you can find in the menu of Rhythmbox and change them according to your wishes.
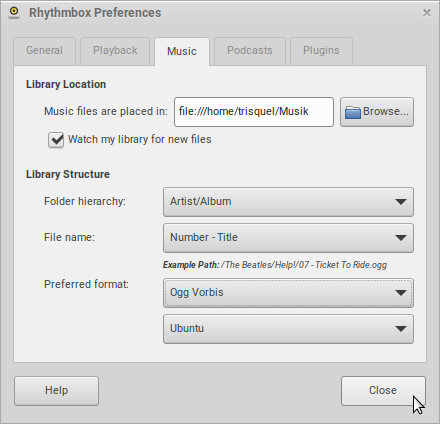
In this case we don't make any changes.
3. Get ID3-Tags on MusicBrainz and/or edit them manually
Rhytmbox will try to get the ID3-Tags from MusicBrainz. MusicBrainz is a MetaBrainz project that aims to create a collaborative music database that is similar to the freedb project.
ID3 is a metadata container most often used in conjunction with the MP3 audio file format. It allows information such as the title, artist, album, track number, and other information about the file to be stored in the file itself.
Using MusicBrainz requires an internet connection. If you can't get the ID3-Tags, because you are offline or no metadata for this audio CD is found on Musicbrainz, you will see a blue area in Rhythmbox. You can now edit the ID3-Tags manually, if you want.
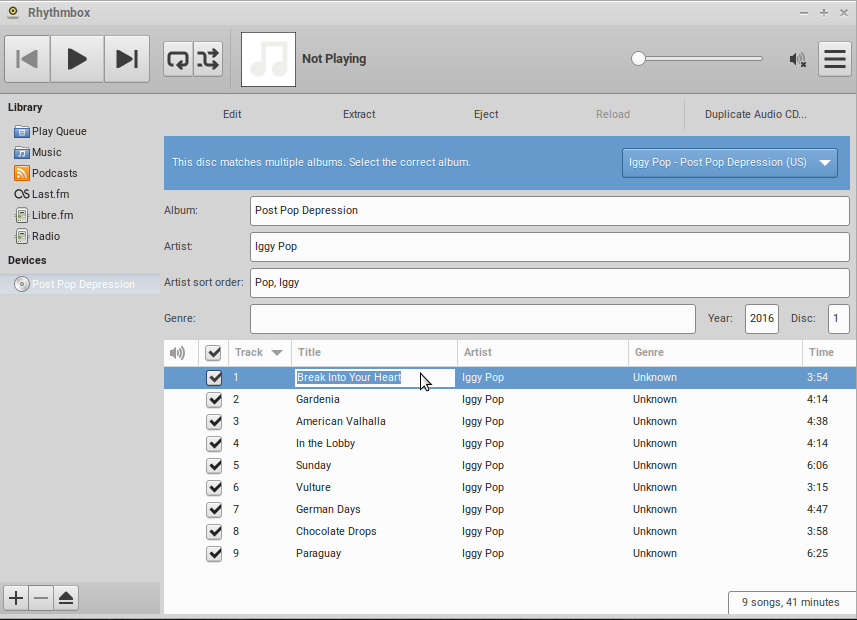
In this case, more than one matching record was found on MusicBrainz. Change the ID3-Tags according to your wishes, by clicking twice on a field and edit them. In this example we leave them alone.
3. Extract tracks
You can select/unselect the tracks you want to rip. If all settings are OK, click "Extract" to copy the tracks to your library
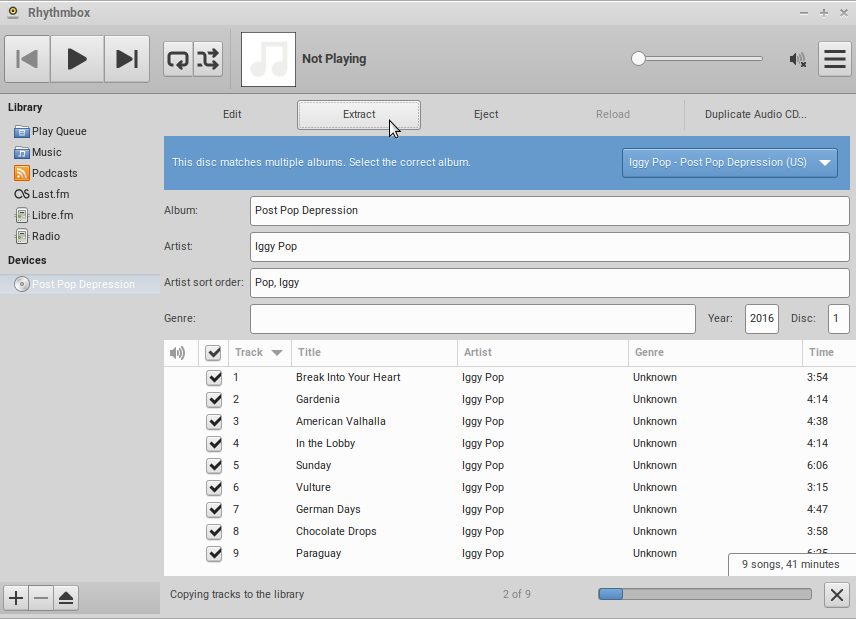
The selected tracks are now going to be extracted to the library. This may take a while.
4. Manage your music library
To see your newly added tracks, click on "Music" at the "Library" as shown on the screenshot below.
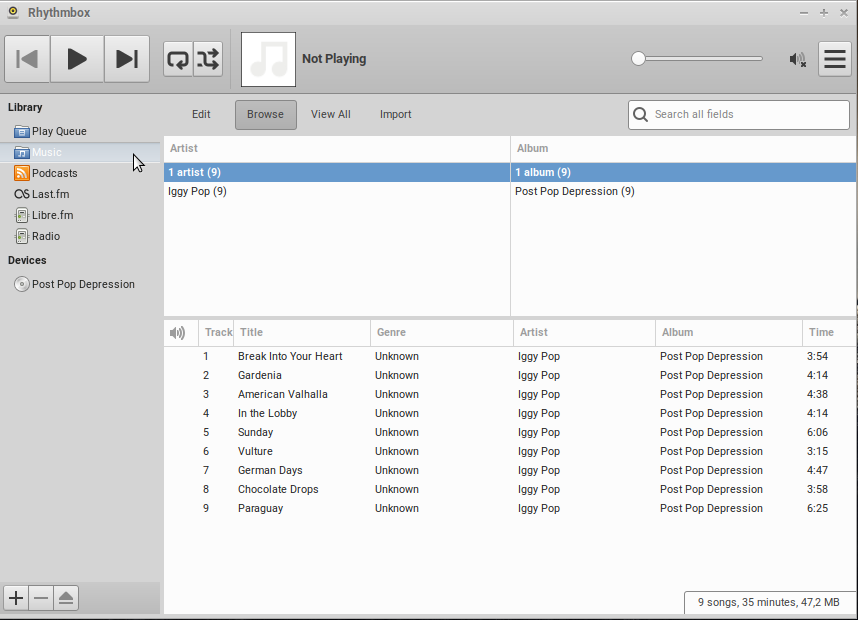
Here you can see your entire music collection in Rhythmbox.

