Revisión de Instalar Trisquel como Servidor de Xov, 02/29/2024 - 06:23
As revisións permítenlle rastrexar as diferenzas que hai entre distintas versións dunha entrada.
Esta guía demostra como instalar Trisquel GNU/Linux como servidor.
Para iso usaremos a imaxe de 62 Megaoctetos Trisquel NetInstall, e instalaremos soamente os paquetes necesarios para ter un servidor completamente personalizado Trisquel funcionando.
Conseguir a imaxe
Este paso é bastante simple, podes descargar a imaxe de aquí:https://trisquel.info/gl/download
Non te esquezas de de facer clic en "Máis", seleccionar NetInstall e facer clic en "Descargar ISO".
Despois da descarga sigue unha das guías de abaixo (como exemplo) para preparar a unidade de instalación de Trisquel:
A Instalación
Esta é a parte máis importante dado que imos instalar Trisquel no almacenamento principal. Neste exemplo vaise usar o espazo completo do almacenamento, pero podes axustalo como desexes.
Antes de comenzar, deberías asegurarche que os datos na máquina obxectivo teñen copia de respaldo. Consulta a guía para facer copias de respaldo: Backup Files Quickly and Easily.
Iniciar a instalación
A primeira pantalla tras arrancar a túa imaxe é a seguinte, onde tes que seleccionar a túa lingua preferida.
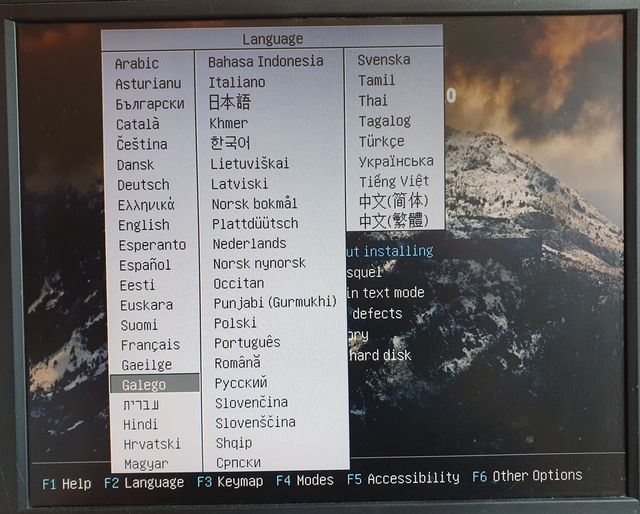
Para instalar Trisquel con cifrado integral de disco, usa as frechas do teu teclado para escoller "Instalar Trisquel en modo texto".
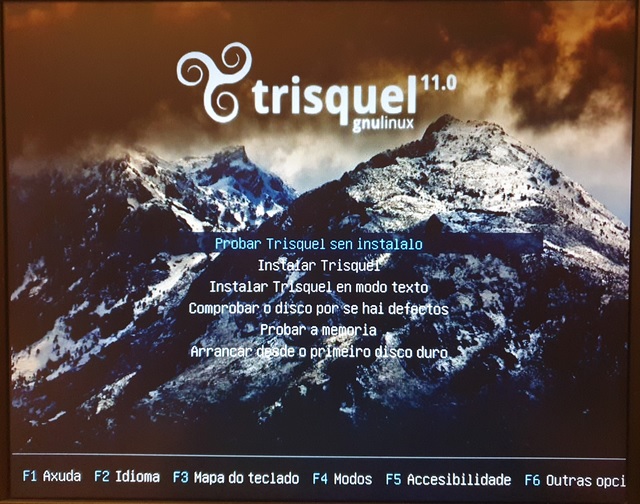
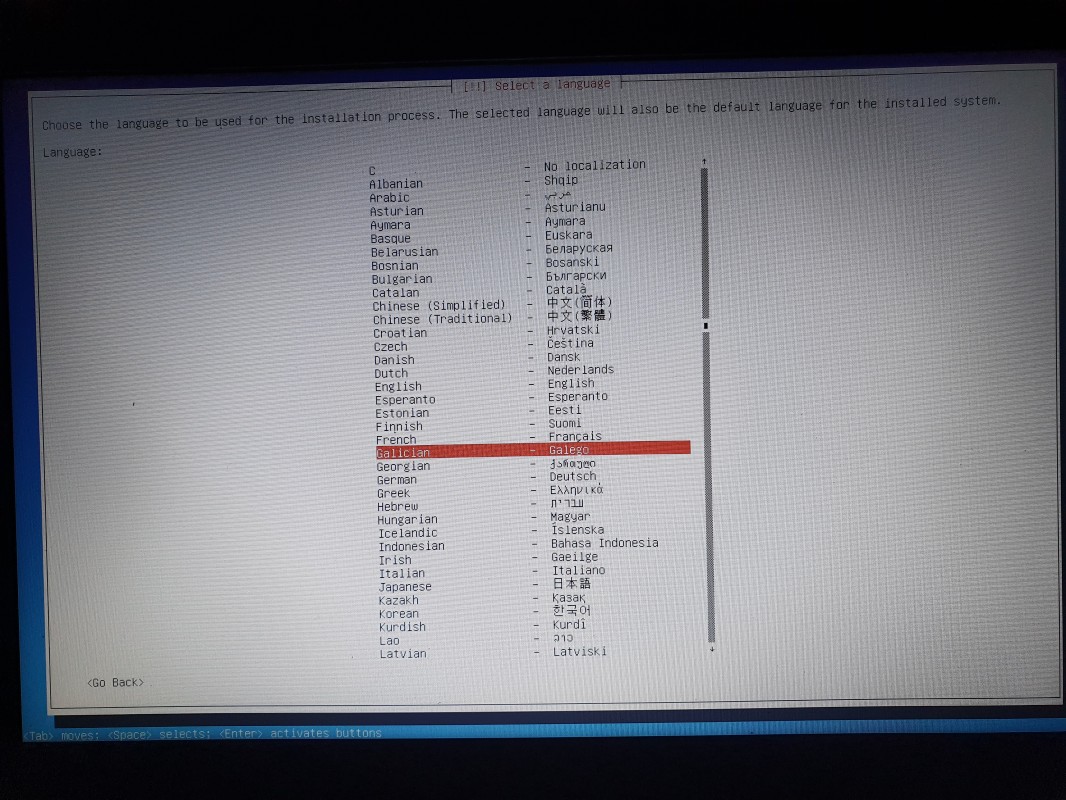
Seleccionar un idioma
A primeira pantalla tras arrancar a túa imaxe é a seguinte, onde tes que seleccionar a túa lingua preferida.
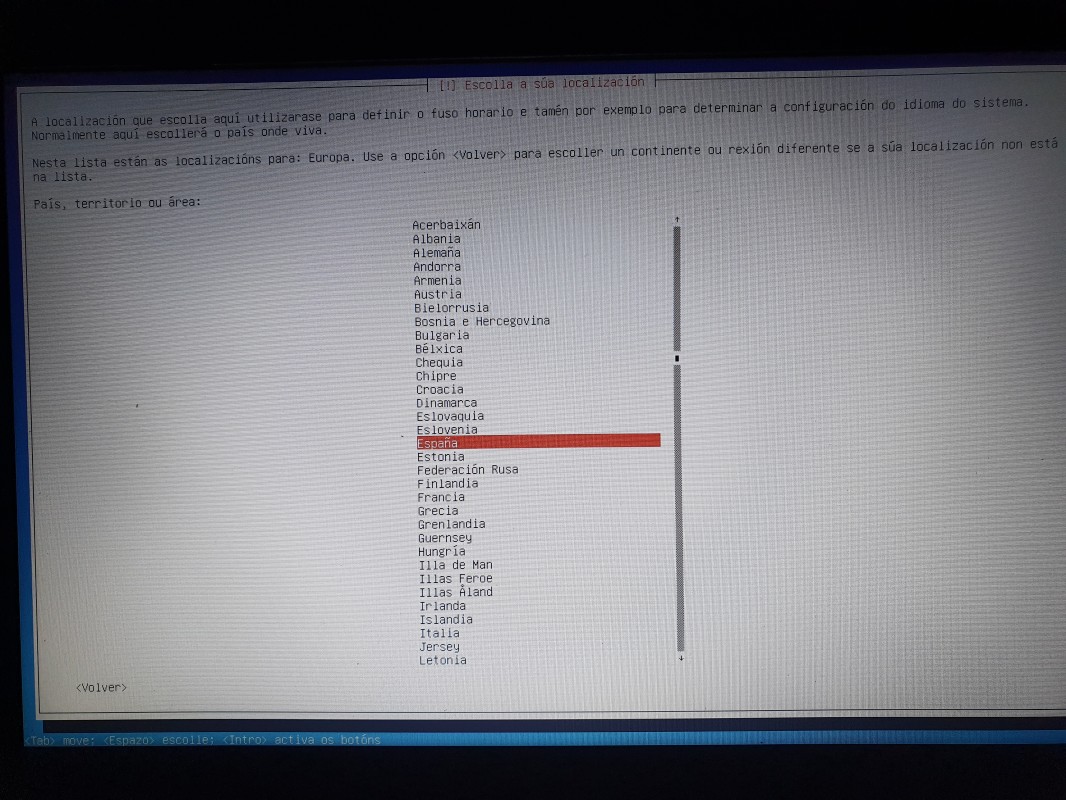
Escolla a súa localización
Escolle a túa localización.
Configurar o teclado
Seleccionar o idioma do teu teclado. Se o teu teclado é comprado en Galicia, tócache escoller "Spanish".
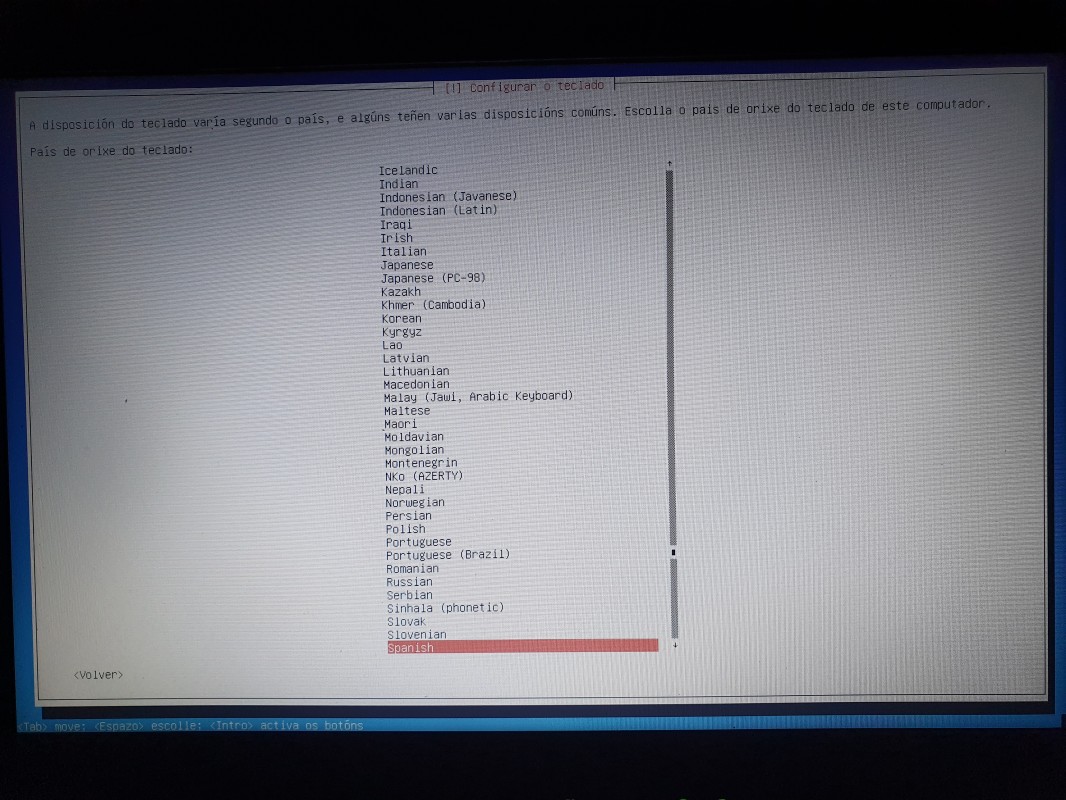
Despois, se existen varias disposicións de teclados, escolle a disposición do teu teclado.

As disposicións para teclado amosadas na imaxe son:
- Española
- Española - Asturiana (España, con H e L con punto baixo)
- Española - Catalana (España, con L con punto medio)
- Española - Española (Dvorak)
- Española - Española (Macintosh)
- Española - Española (Windows; para teclados que teñen unha tecla co símbolo de Windows, entre Control e Alt)
- Española - Española (vírgula morta; para teclados sen letra ñ, pois se a vírgula é morta significa que cando se preme non se escrebe senón que combínase coa seguinte letra que se prema, o que permite escribir a letra ñ premendo a vírgula e despois a letra n)
- Española - Española (sen teclas mortas; para teclados sen diérese nin acentos)
Pantalla Configurar a rede
Se o instalador de Trisquel detecta no seu computador unha ou varias interfaces de rede, permite escoller a conexión a rede e, se é necesario, introducir a clave.
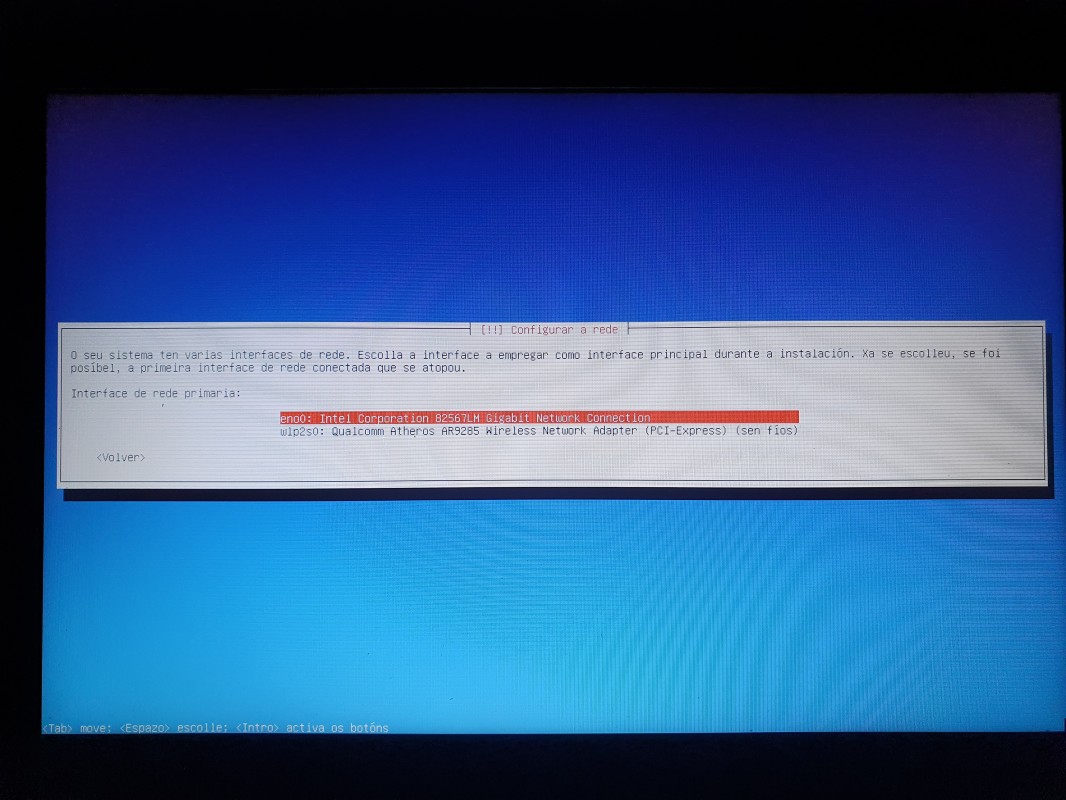
Introduce o nome para identificar o computador na rede.

Escolla unha réplica do arquivo de Trisquel
Escolle o país da réplica do arquivo de Trisquel.
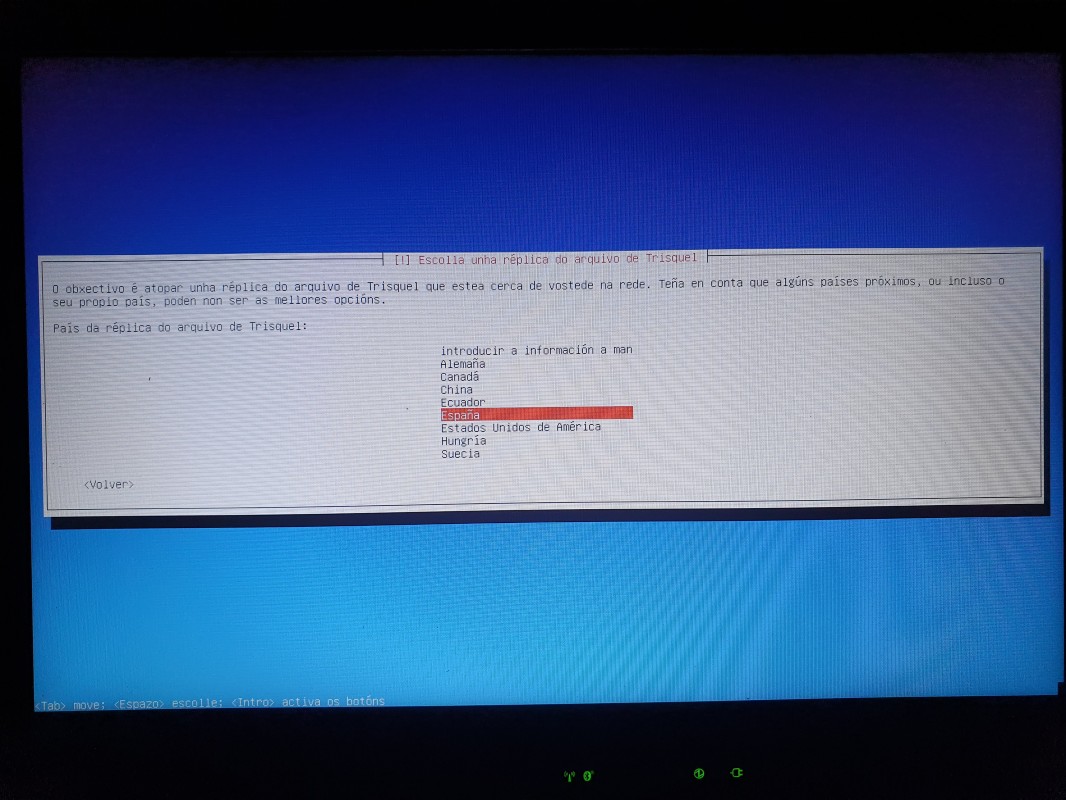
Escolle a réplica do arquivo de Trisquel.
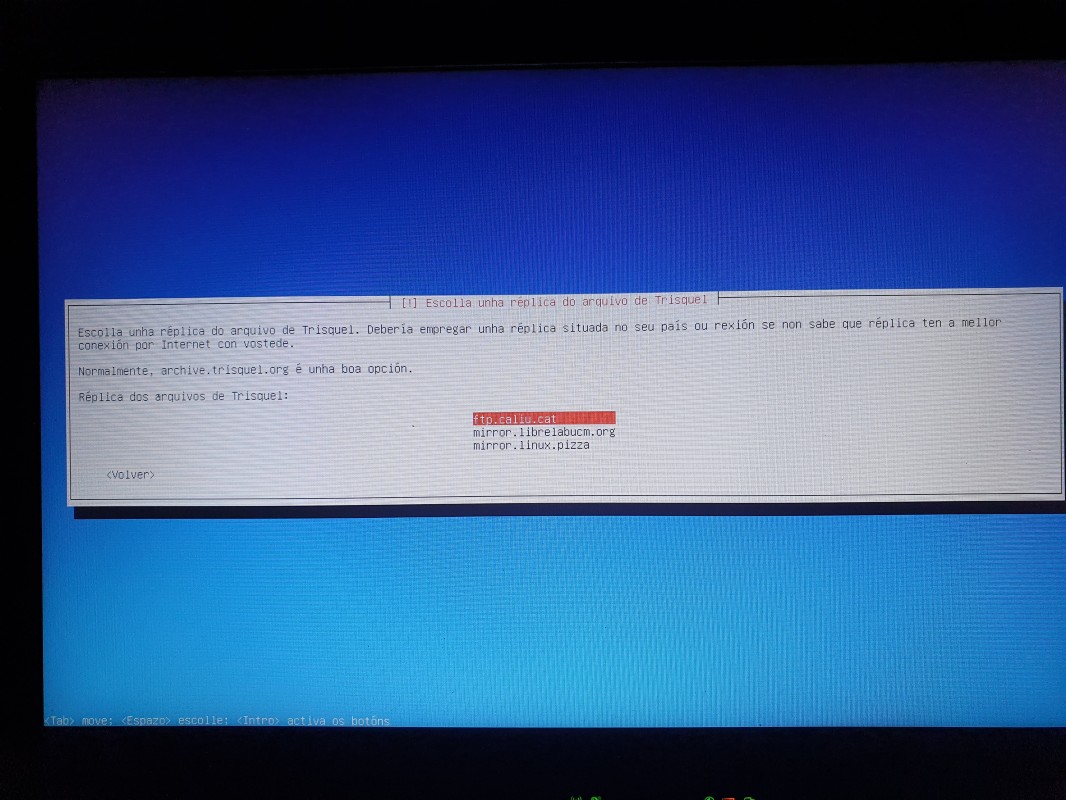
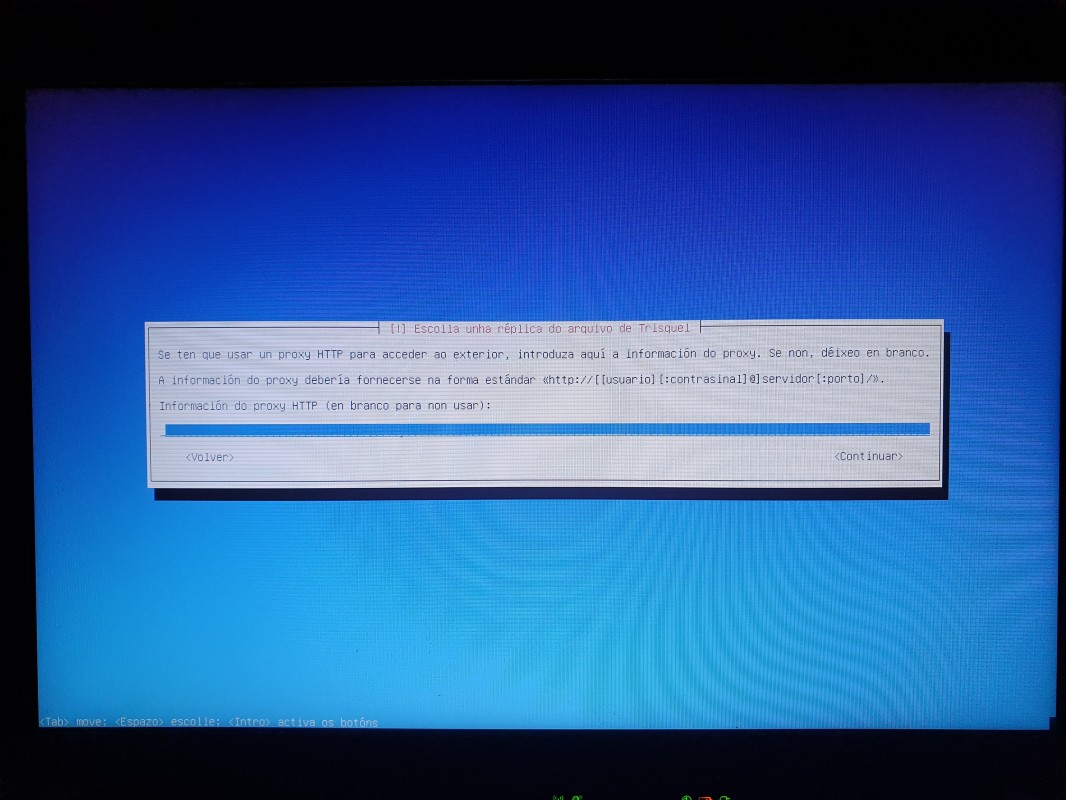
Se precisas dun proxy para acceder a Internet introduce a información aquí.
Configurar os usuarios e contrasinais
Introduce o nome do usuario.
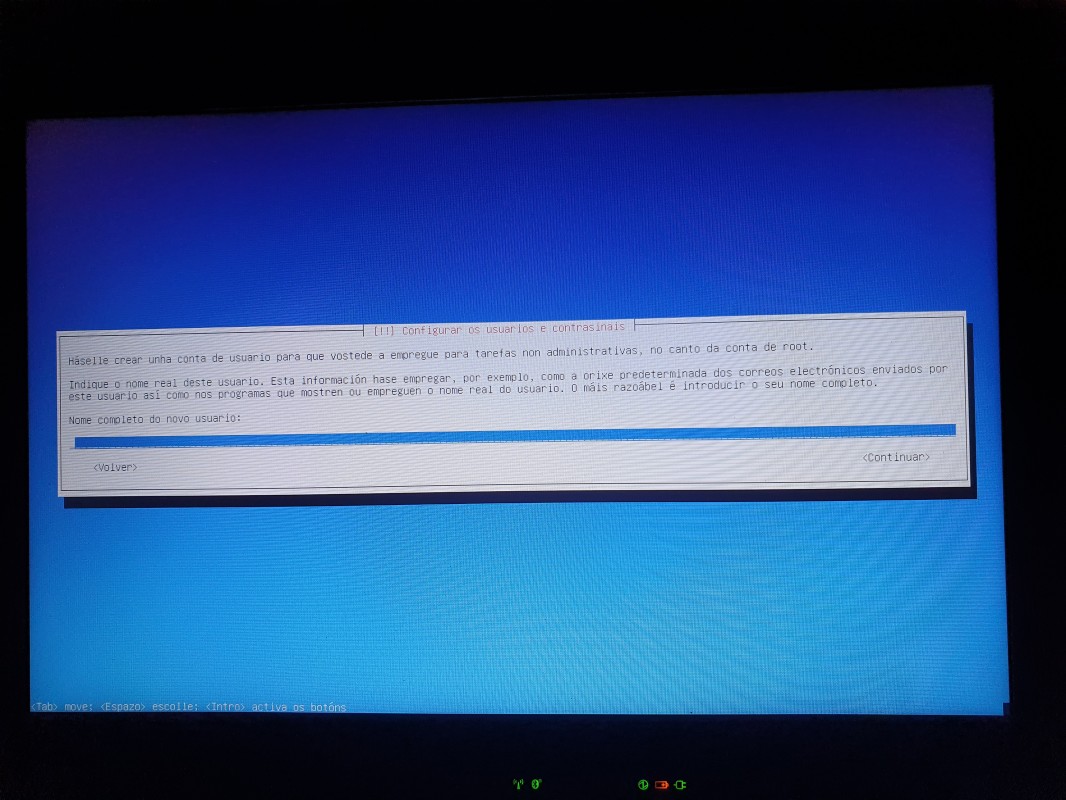
Introduce o nome da conta de usuario e o contrasinal.
Configurar o reloxo
Usa as frechas do teu teclado para seleccionar o fuso horario e preme [INTRO] para confirmar a selección. Se a túa localización é Galicia tócache "Madrid".

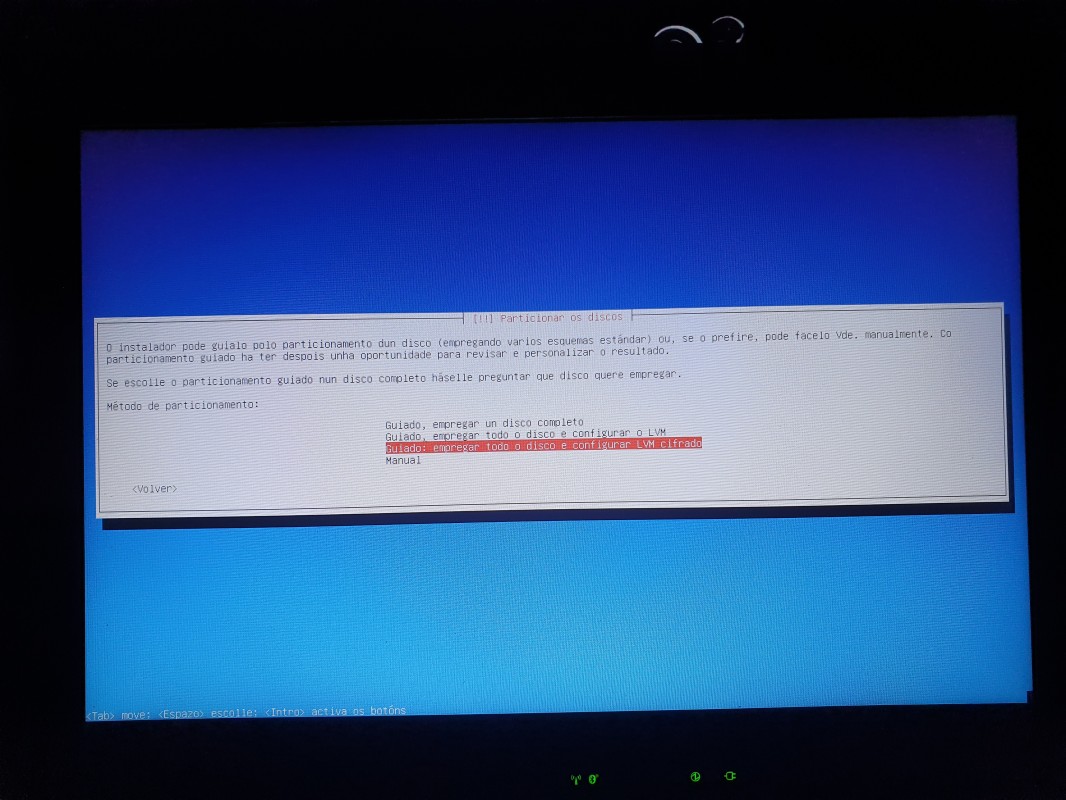
Particionar o disco (a opción máis sinxela é "Guiado, empregar un disco completo")
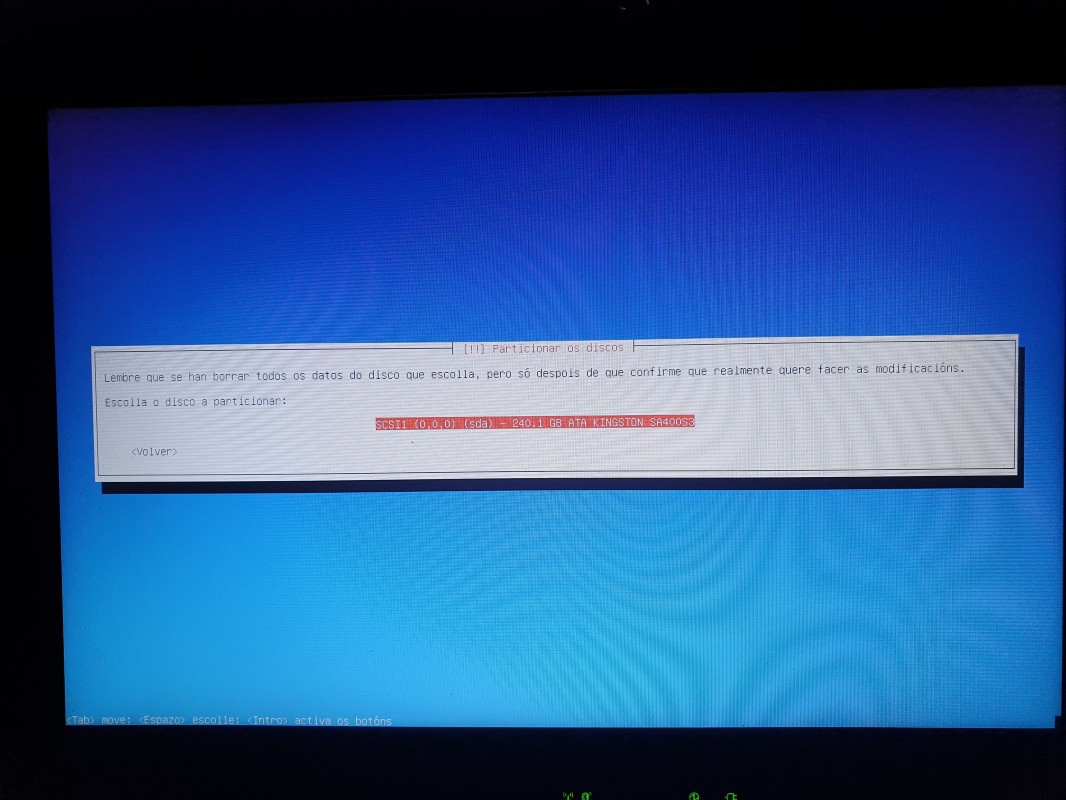
Seleccionar o disco que queres particionar
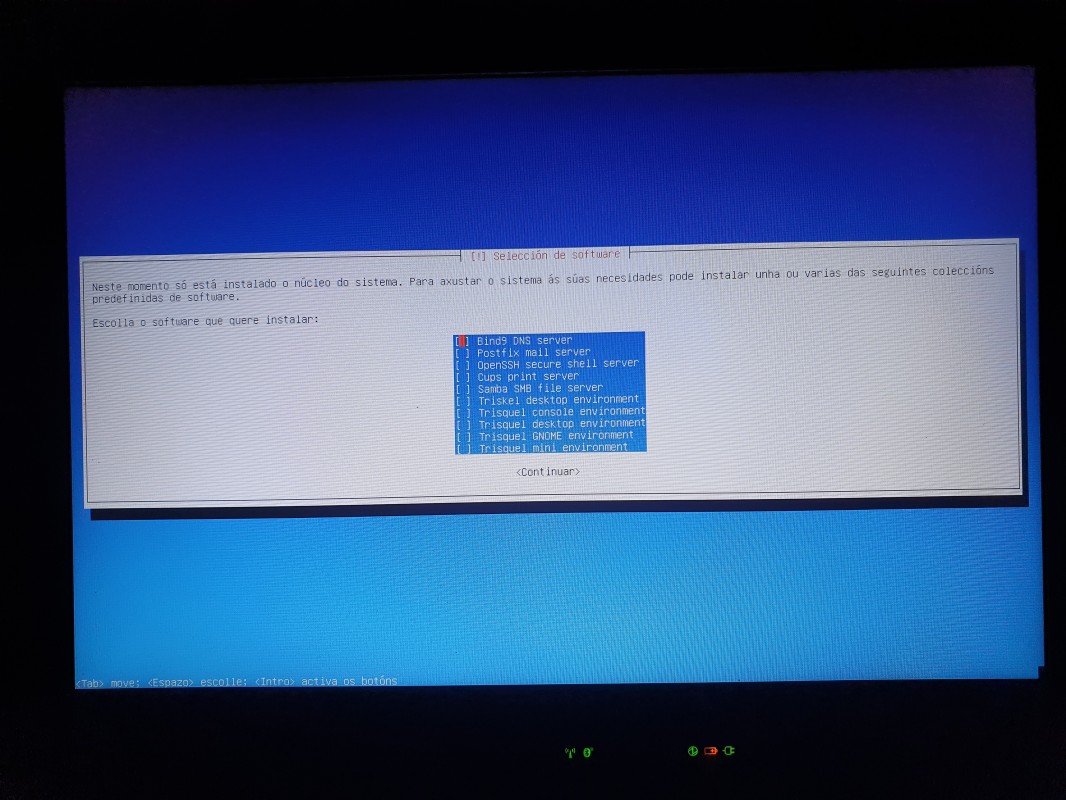
Escolle os paquetes que queres instalar
- Bind9 DNS server (Servidor de Nomes de Dominio)
- Postfix mail server (servidor de correo electrónico)
- OpenSSH secure mail server (servidor de conexións seguras)
- Cups print server (servidor de impresión)
- Samba SMB file server (servidor de ficheiros)
- Triskel desktop environment (escritorio KDE)
- Trisquel console environment (contorno de consola)
- Trisquel desktop environment (escritorio MATE)
- Trisquel GNOME environment (escritorio GNOME)
- Trisquel mini environment (escritorio LXDE)
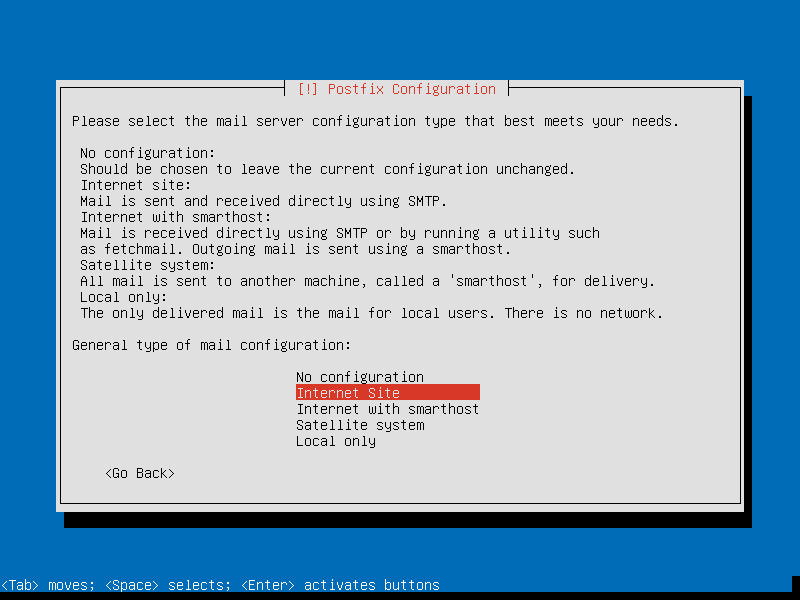
28. Select your email server configuration
As a web server, if you want to use the mail account anywhere select the "Internet Site" options.Here are the available options:
- No configuration:
- Should be chosen to leave the current configuration unchanged.
- Internet Site:
- Mail is sent and received directly using SMTP.
- Internet with smarthost:
- Mail is received directly using SMTP or by running a utility such as fetchmail. Outgoing mail is sent using a smarthost.
- Satellite System:
- All mail is sent to another machine, called a 'smarthost', for delivery.
- Local only:
- The only delivered mail is the mail for local users. There is no network.
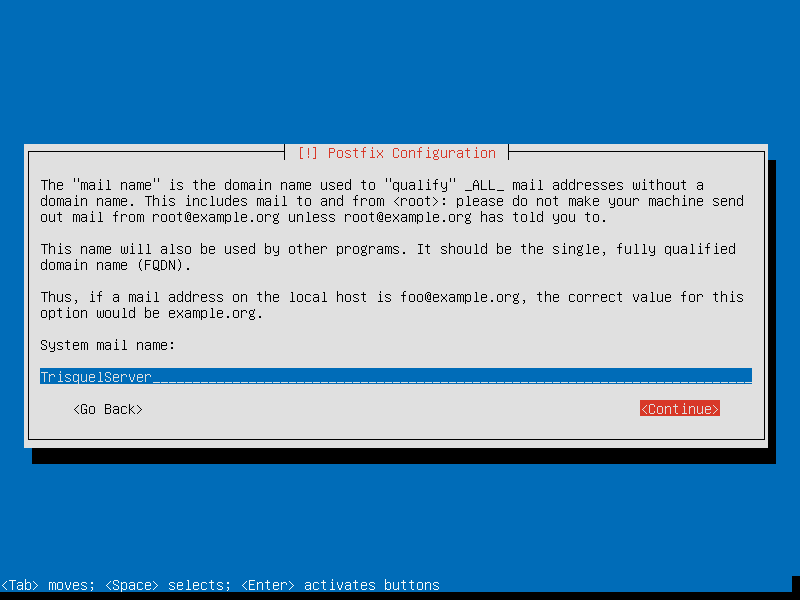
29. Type the System mail name
30. Select "Yes" to install GRUB (in order to start Trisquel when the computer starts)
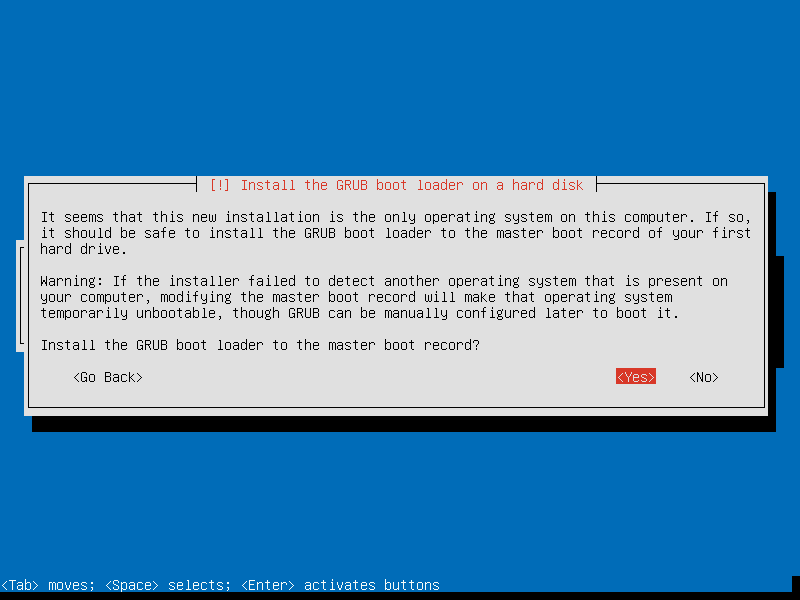
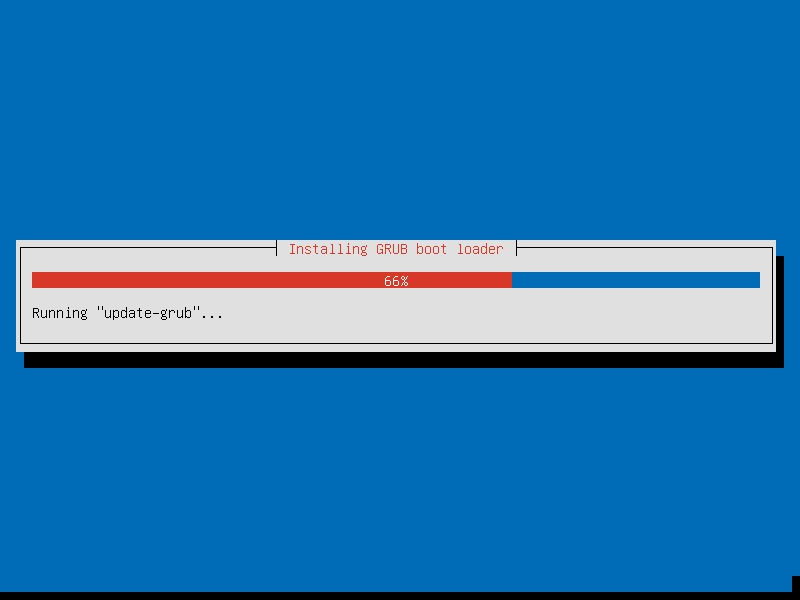
31. GRUB will be installed and the installation will proceed
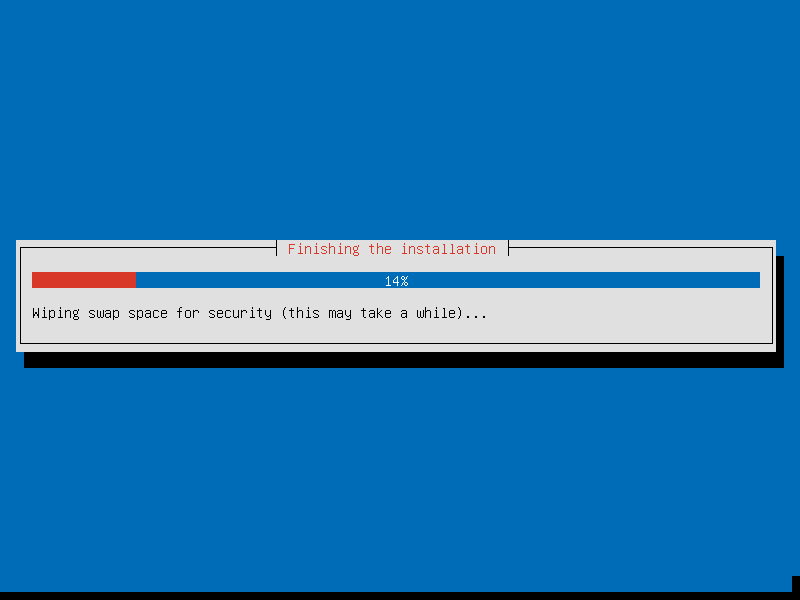
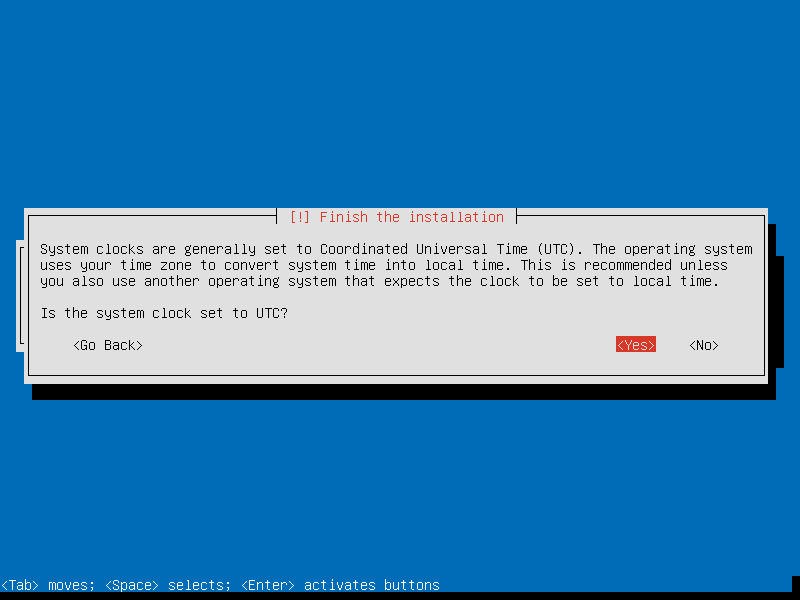
32. Confirm the system clock (UTC is recommended)
33. The installation is finished!
Just hit Enter and remove the CD or USB drive you used to install Trisquel, otherwise the installation will restart when the computer starts again.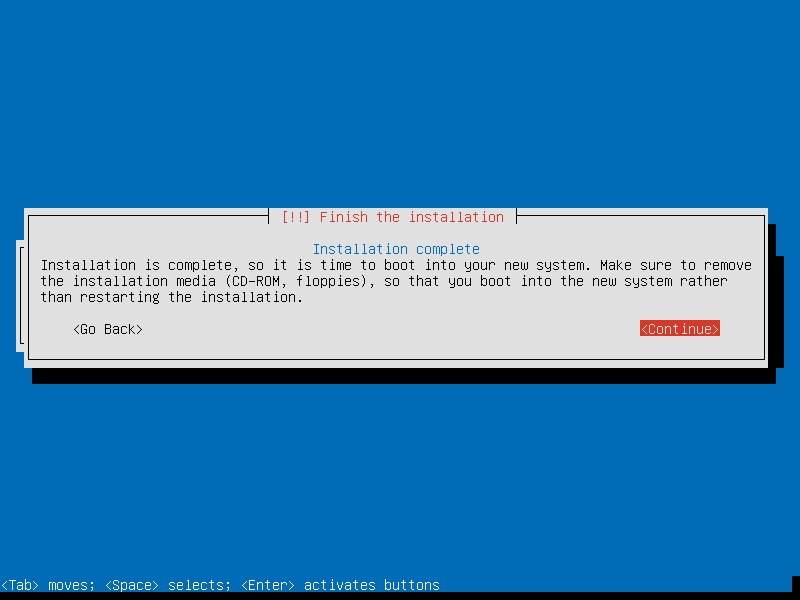
And that's it. You have now a freshly installed Trisquel GNU/Linux (with only the Console Environment) that we will use as a server.
You can go back to the Server Page in order to continue with the configurations.

