Install Trisquel as a Server
This tutorial demonstrates how to install Trisquel GNU/Linux as a server.
For this we will use the 62MB Trisquel NetInstall disc, and install only the packages necessary to have a fully customized Trisquel server running.
Get the ISO, create bootable USB drive or CD/DVD and start
These steps are quite simple, you can download the image from here:
https://trisquel.info/en/download
Don't forget to select Trisquel NetInstall. If your computer supports x86-64 (64-bit) then it's recommended that you select this option for better performance.
You can get help by reading the the documentation about Downloading Trisquel.
After this just follow one of the tutorials below (as an example) in order to burn the image and start the installation of Trisquel:
- Burning Trisquel to a CD/DVD,
- Create a bootable Trisquel USB drive.
- Starting an installable Live-System
The Installation
This is the most important part since we are going to install Trisquel on the hard drive. In this example the entire space of the hard drive will be used, but you can adjust it as you wish.
Before you start, you should make sure the data on the target machine has a backup copy. See Backup Files Quickly and Easily.
1. Start the installation
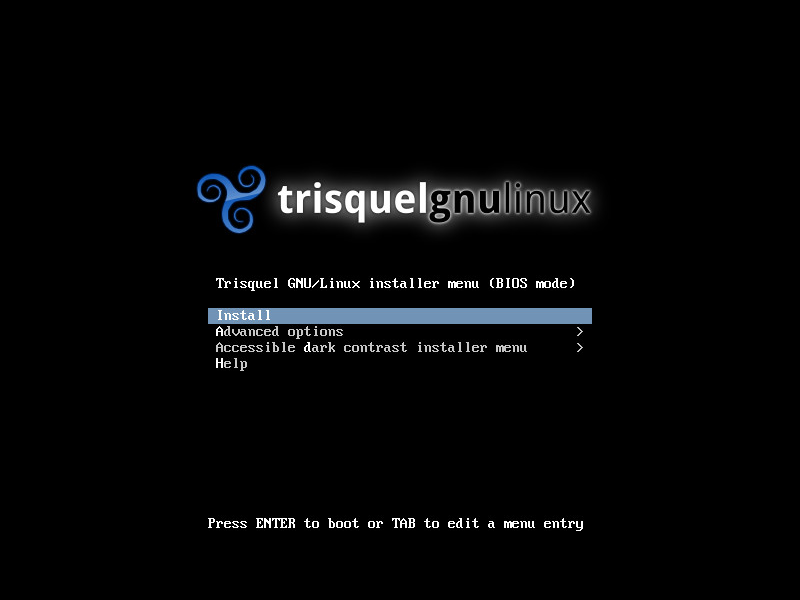
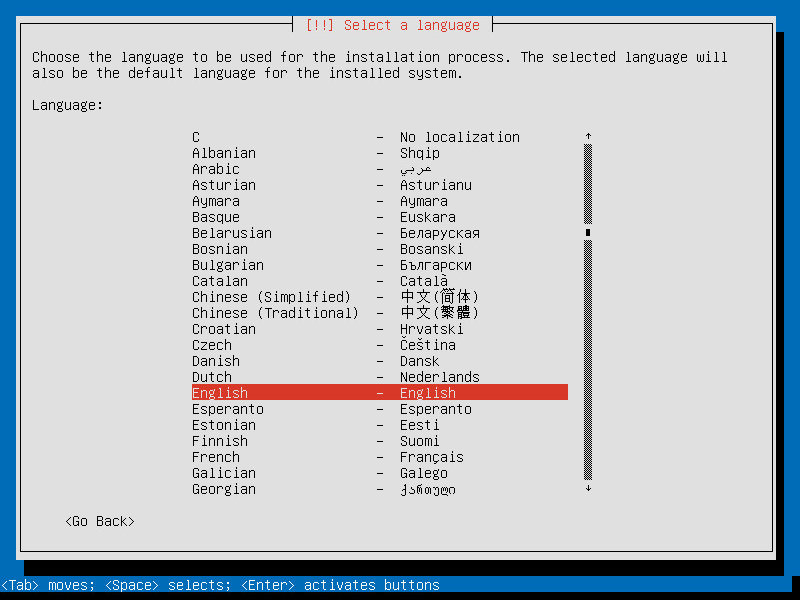
2. Select your language
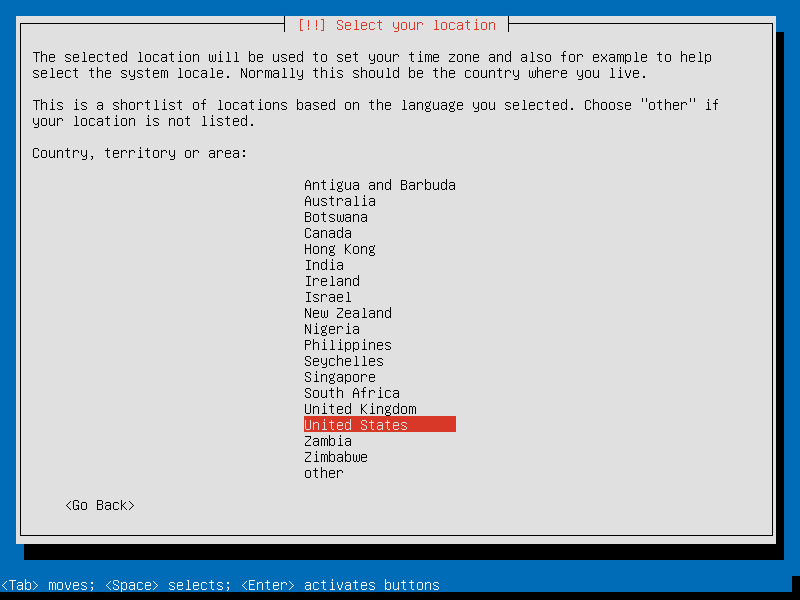
3. Select your country
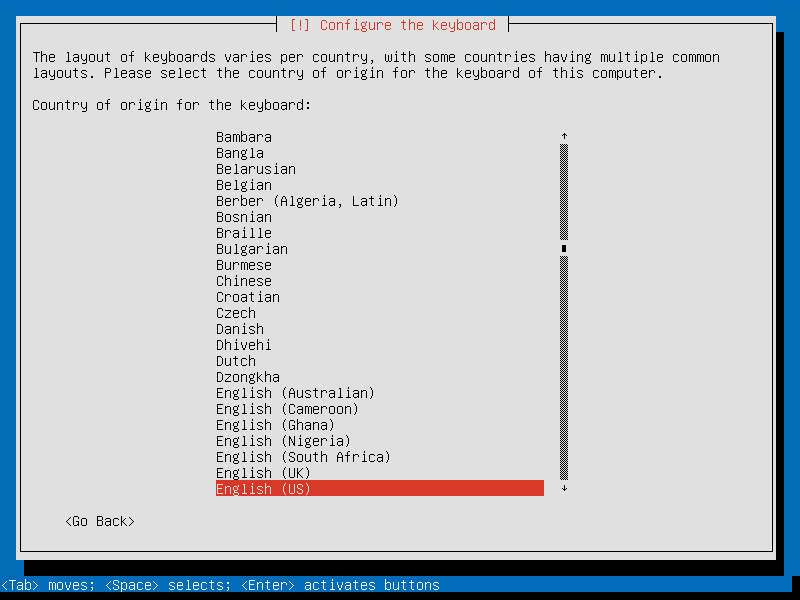
4. Select country of the keyboard layout
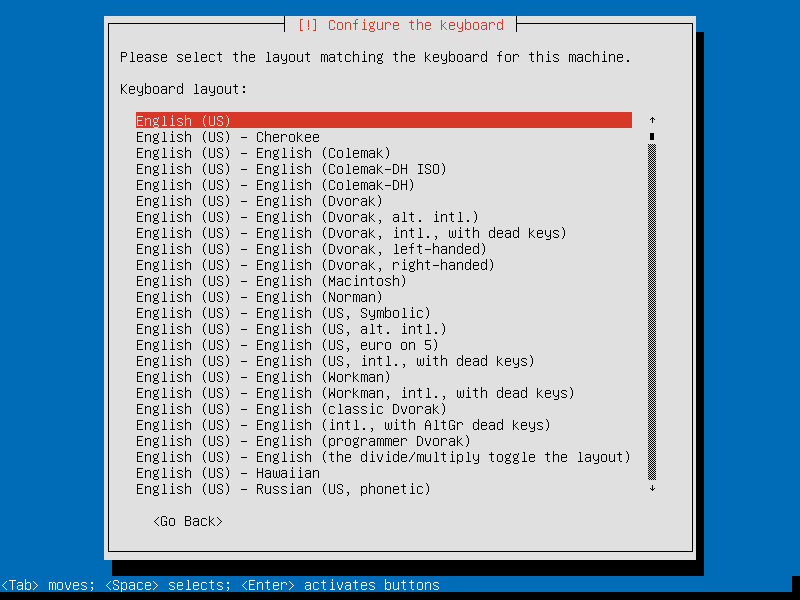
5. Select the keyboard layout
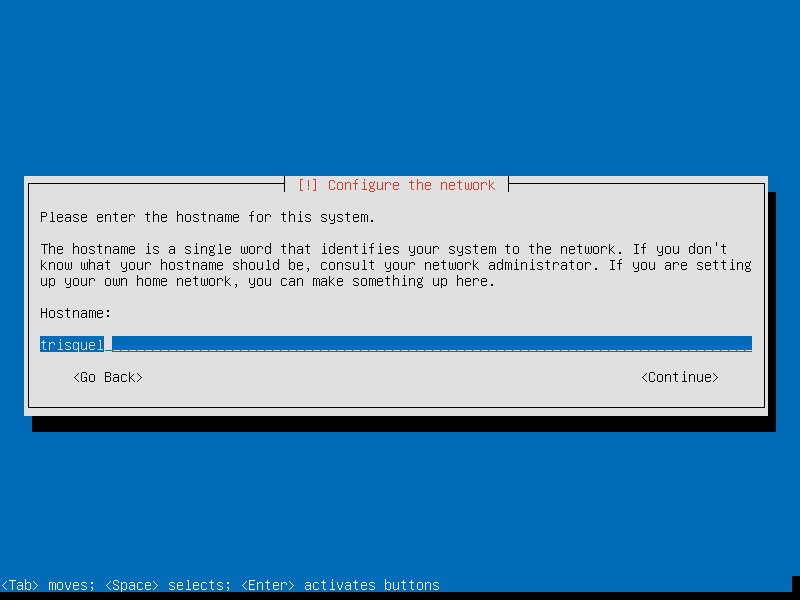
6. Enter the hostname for your system (the name that will appear on the network)
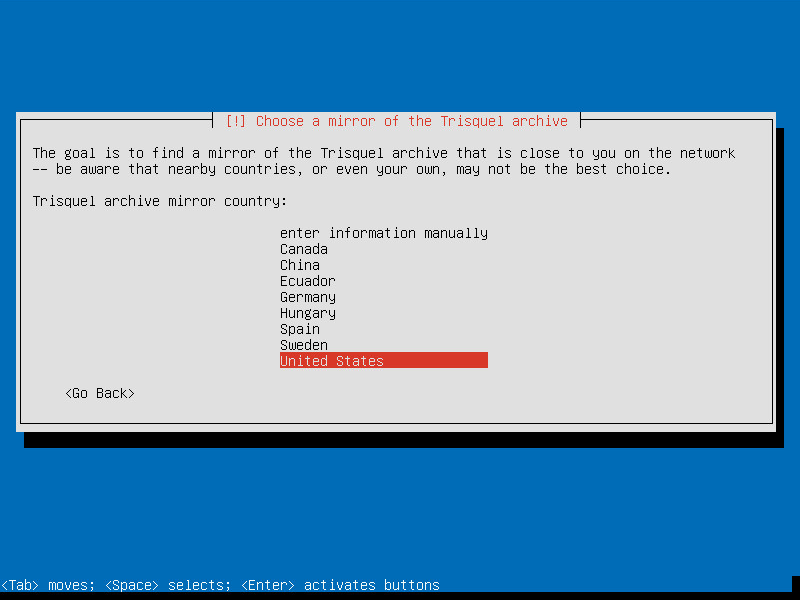
7. Choose the closest country mirror
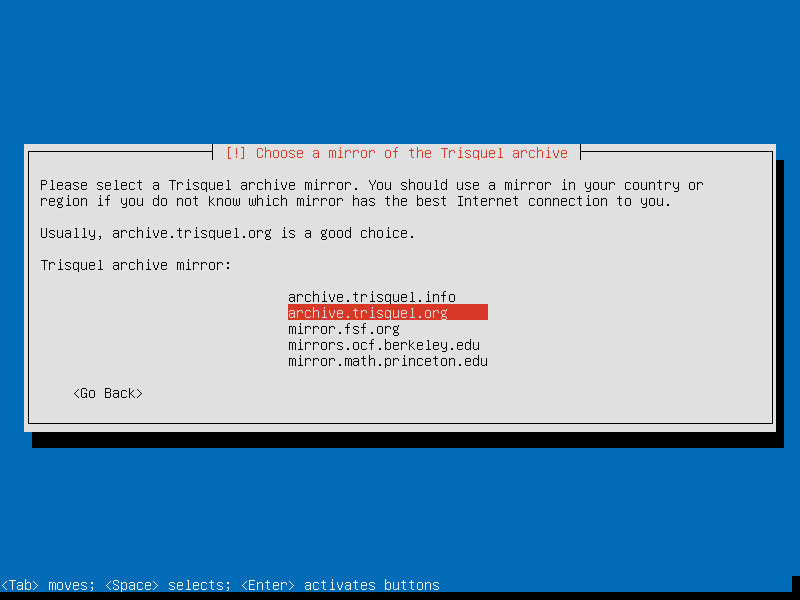
8. Press Enter over the mirror you want (in that country)
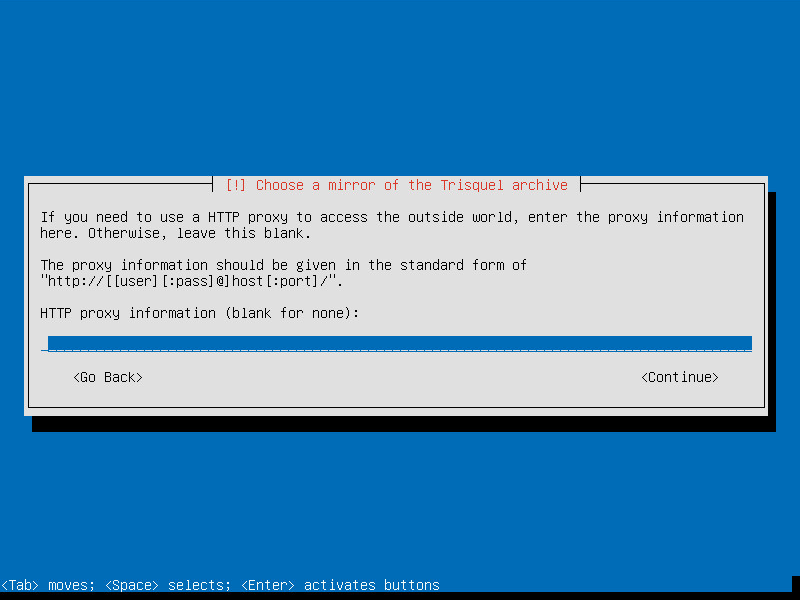
9. If your network is behind a proxy then type your proxy information. Else, hit Enter
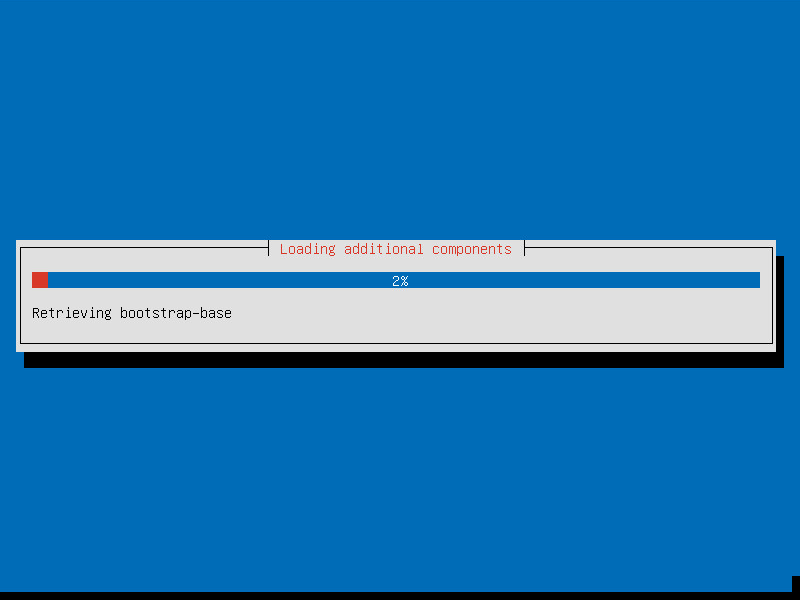
10. There will be a screen for additional components (just let it work)
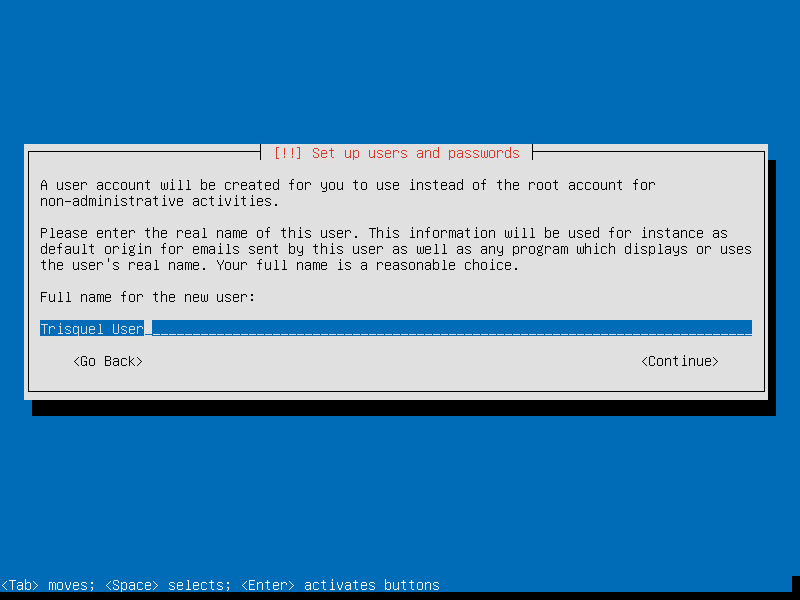
11. Type the full name of the user and hit Enter
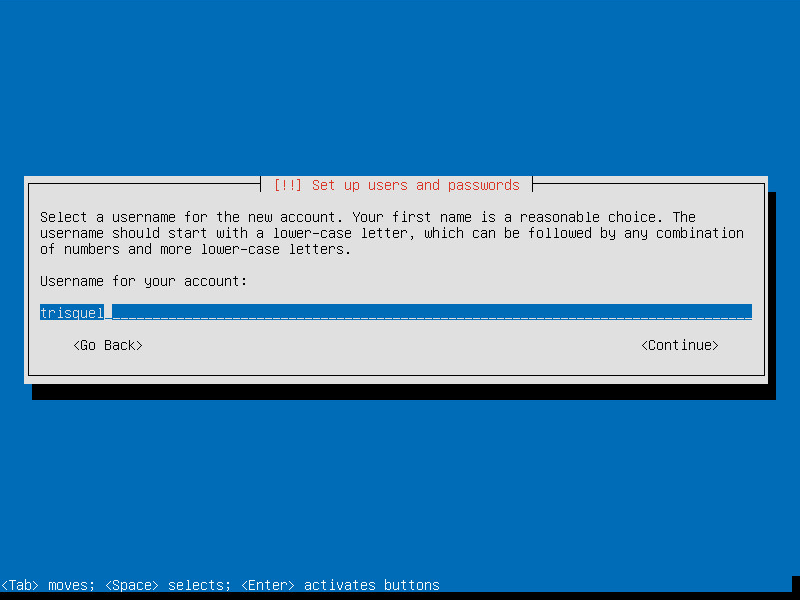
12. Type the username of the new user and hit Enter
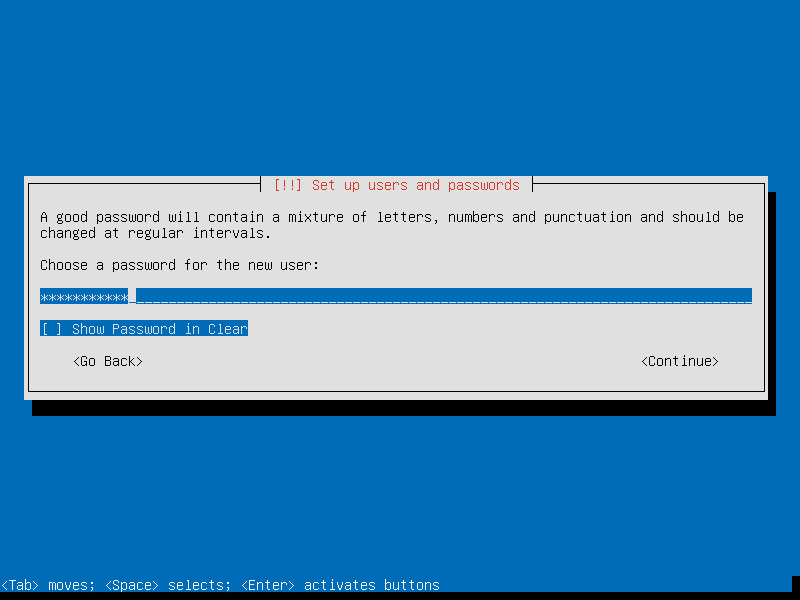
13. Type the password for the user account and hit Enter
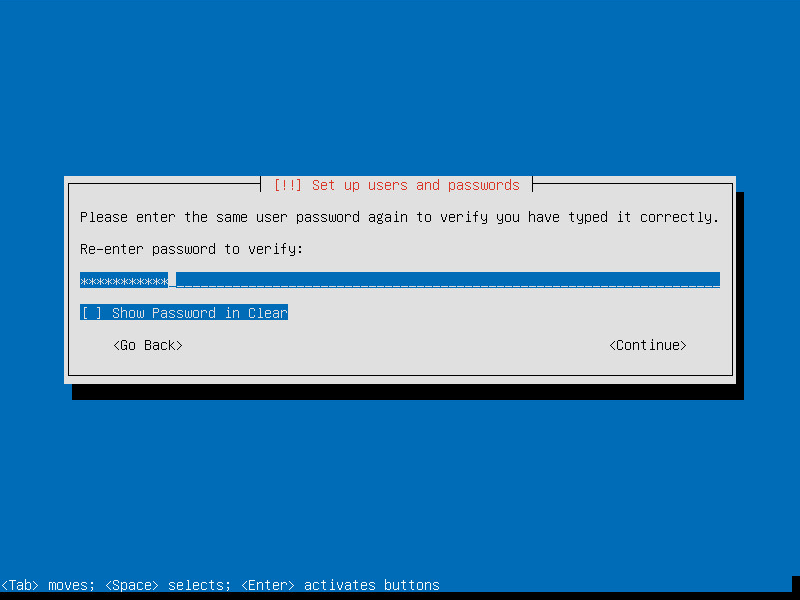
14. Re-type the password for the user account and hit Enter
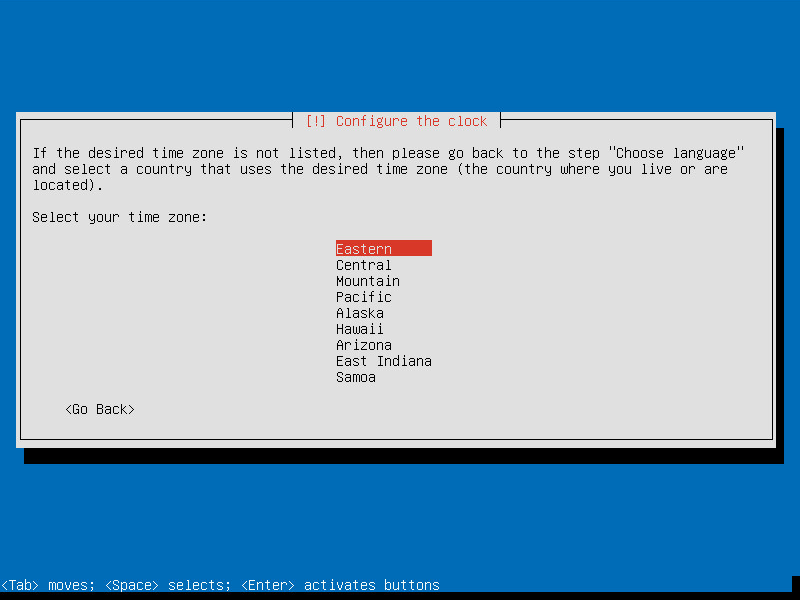
15. Configure time zone
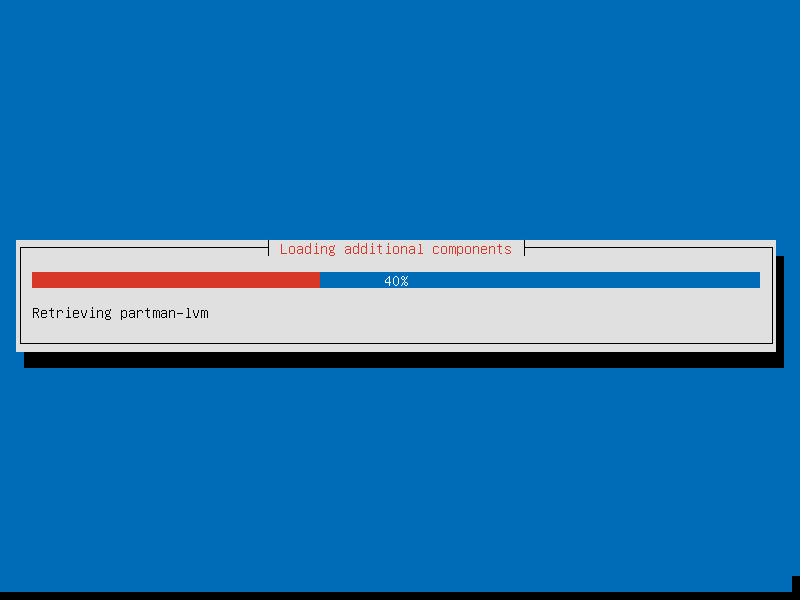
16. There will be a screen for additional components (just let it work)
17. Partition the disk (in this example we will use the entire disk)
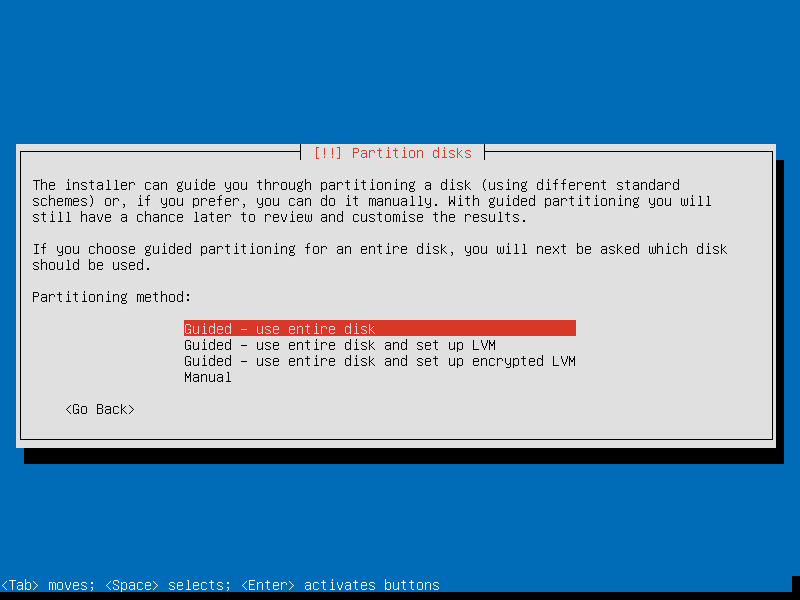
18. Select the disk you want to partition
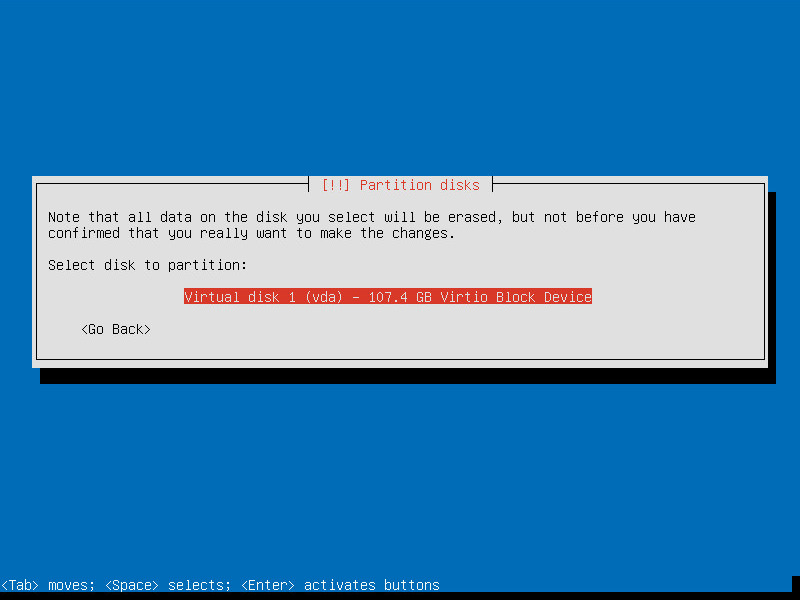
19. Select a partitioning scheme
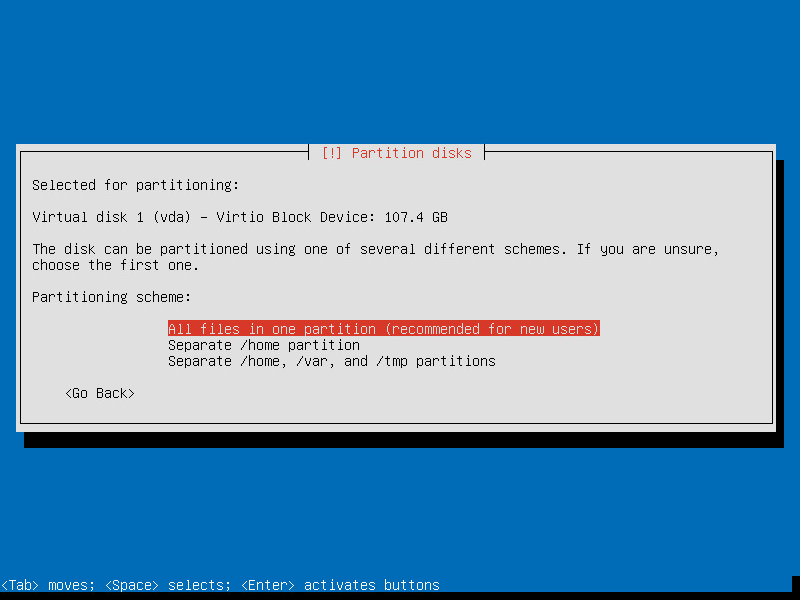
20. A swap partition and an ext4 partition will be created. Hit Enter
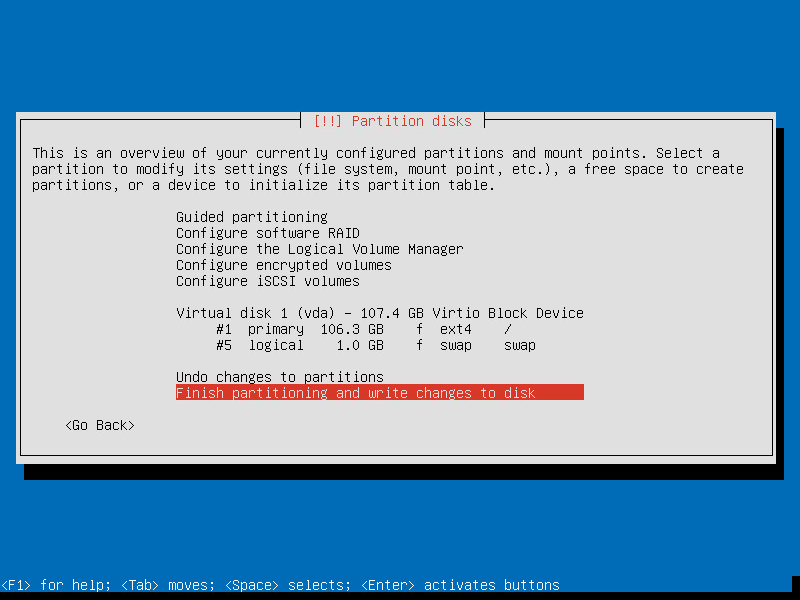
21. Confirm changes to be written on disk
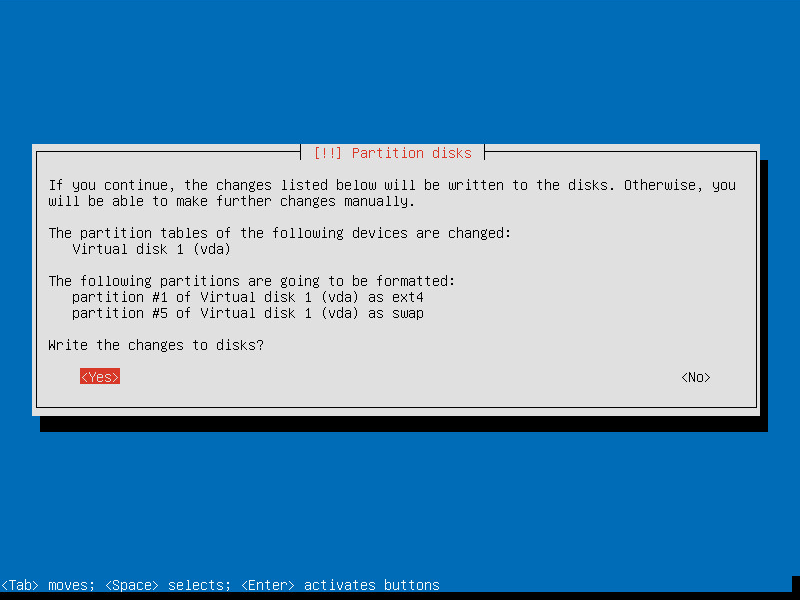
22. The partition will be created and the installation of the base system will begin
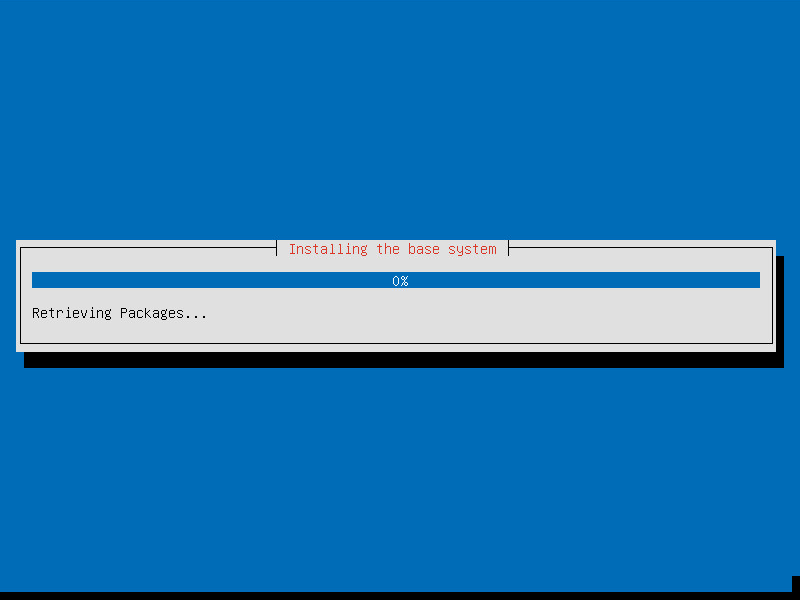
23. The latest packages available will be downloaded and installed (there is no need to update after the installation)
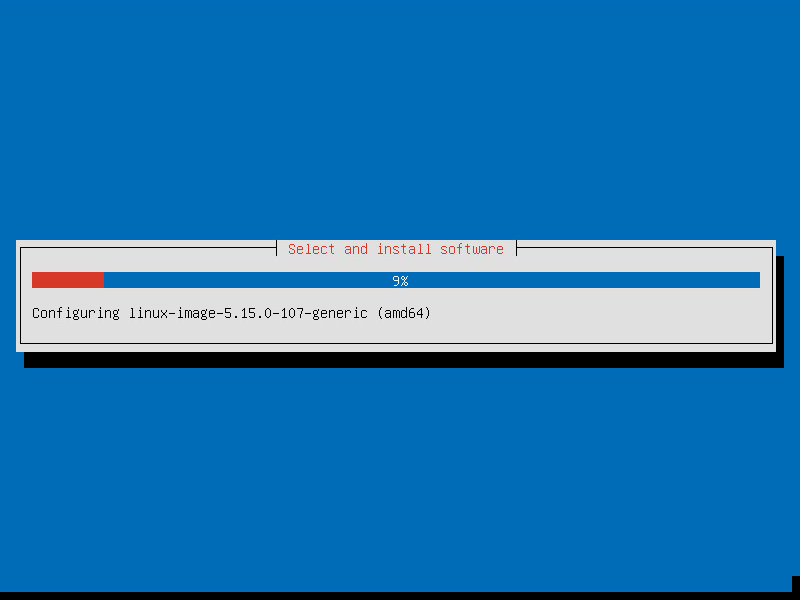
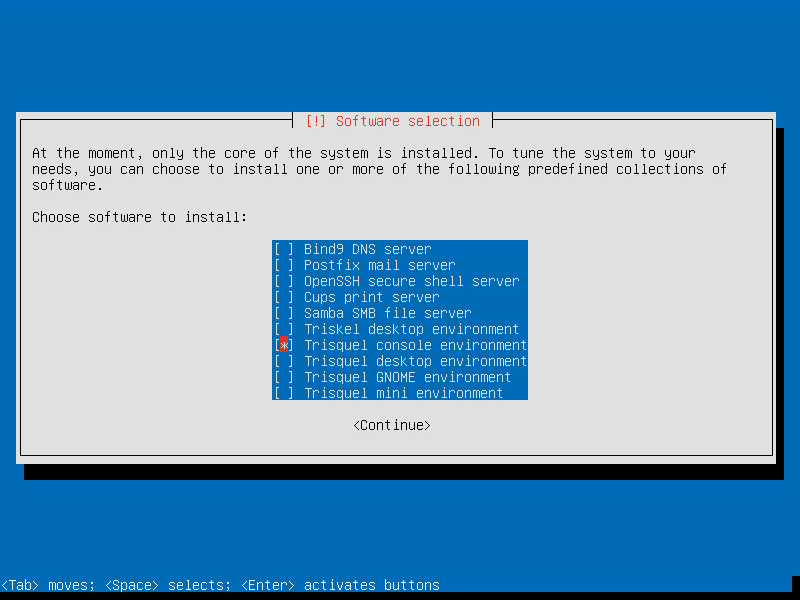
24. Choose what tasks you want to install
In this example only the Trisquel Console Environment is selected. Other packages can be selected, such as GLAMP (GNU/Linux, Apache, MySQL and PHP) and OpenSSH.
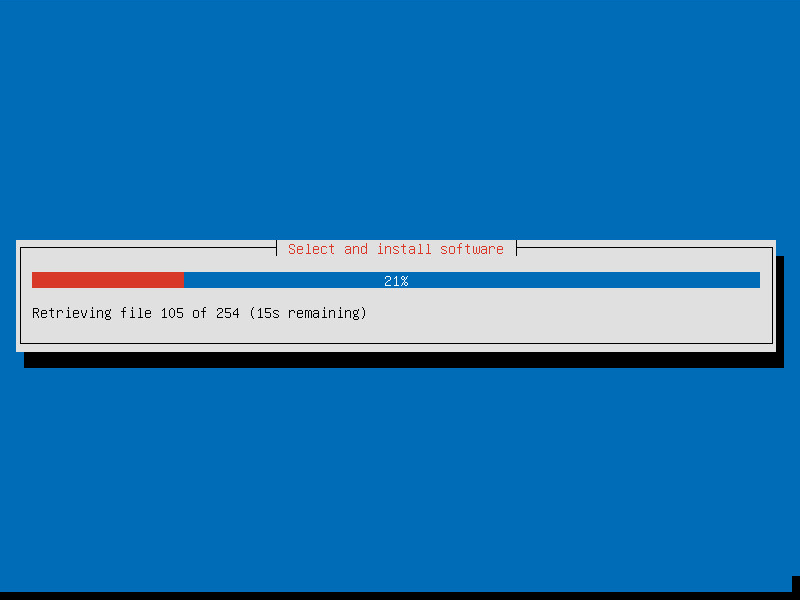
25. The latest packages available for the selected task(s) will be downloaded and installed (there is no need to update after the installation)
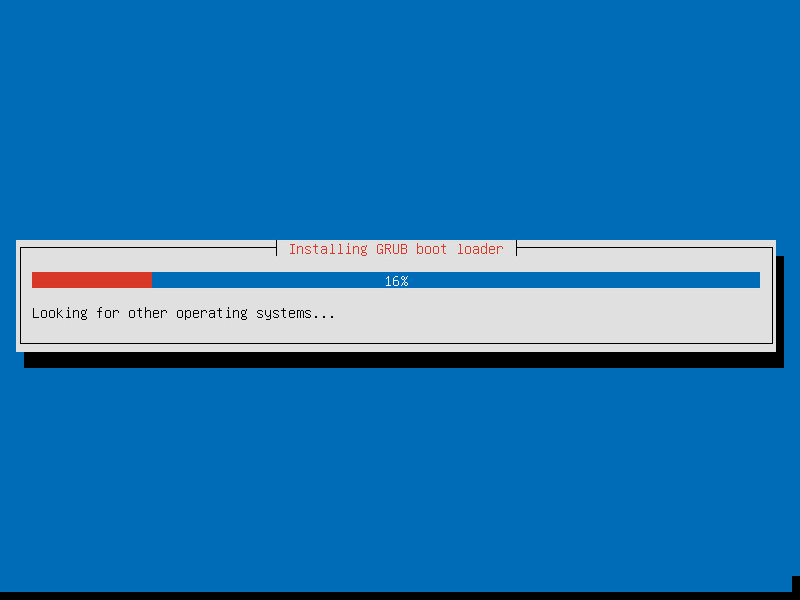
26. GRUB boot loader will look for other installed operating systems
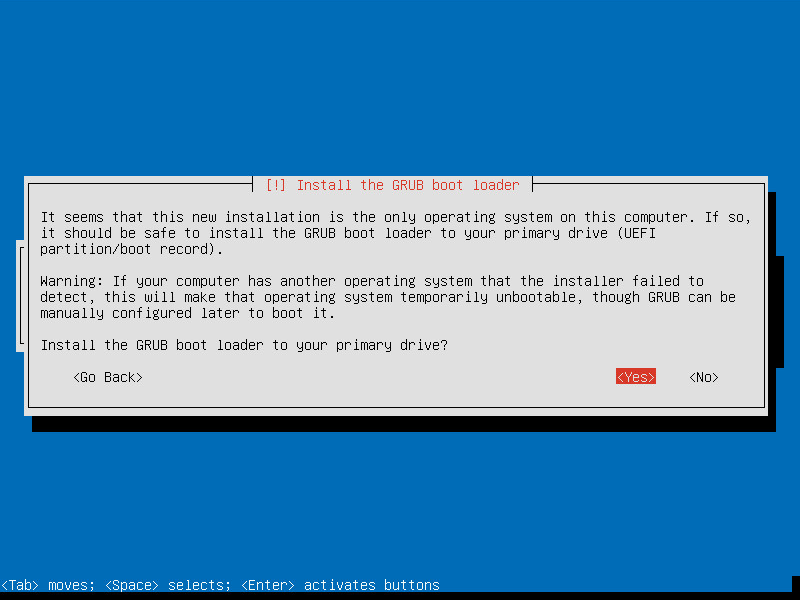
27. Select "Yes" to install GRUB (in order to start Trisquel when the computer starts)
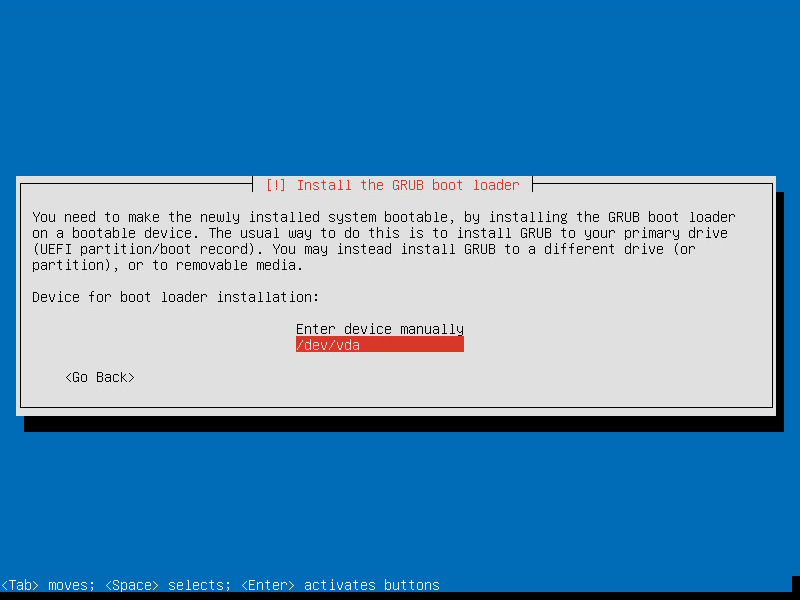
28. Select device for boot loader installation
29. GRUB will be installed and the installation will proceed
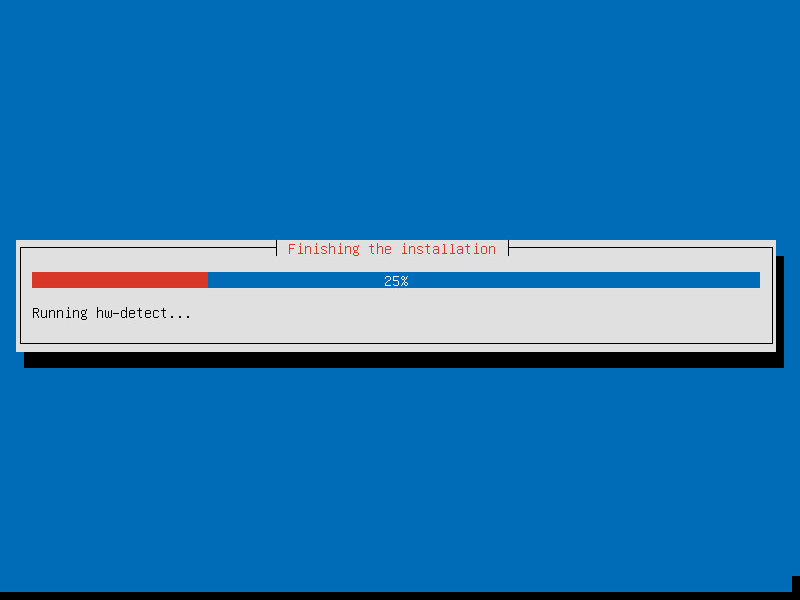
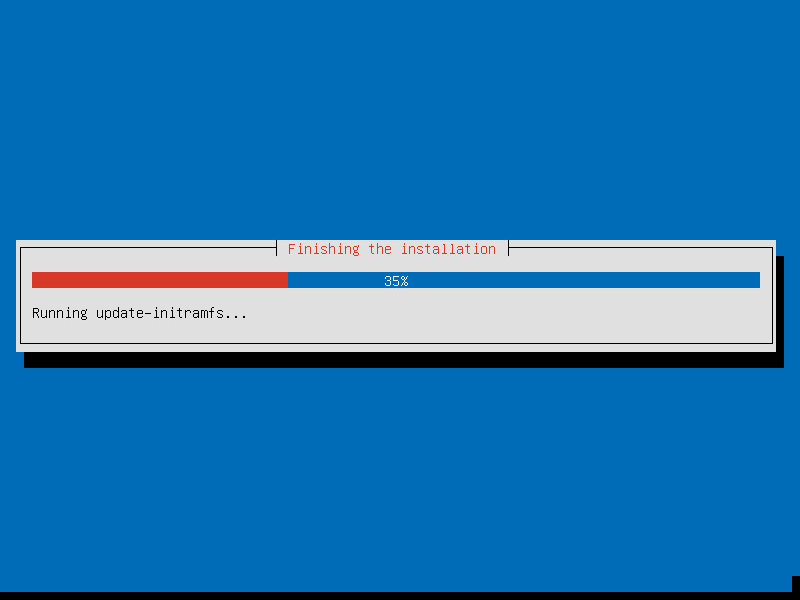
30. The installation is finished!
Just hit Enter and remove the CD or USB drive you used to install Trisquel, otherwise the installation will restart when the computer starts again.
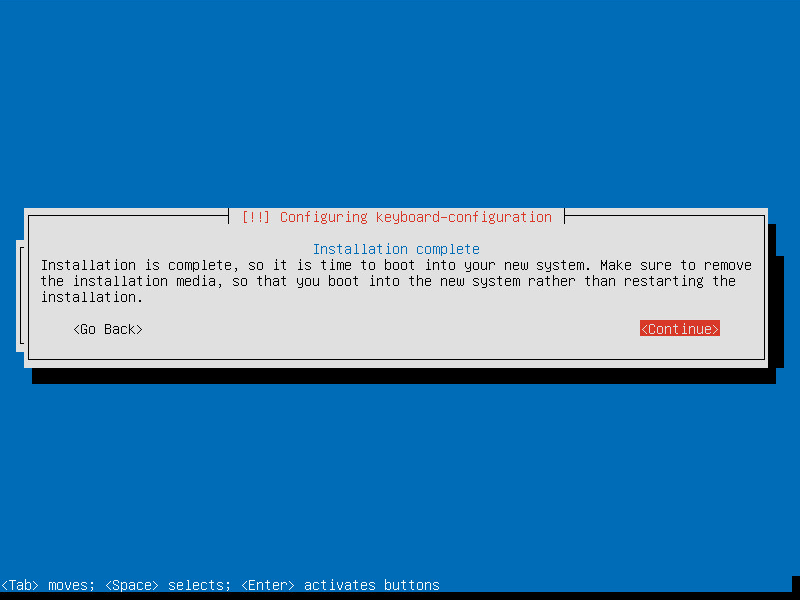
And that's it. You have now a freshly installed Trisquel GNU/Linux (with only the Console Environment) that we will use as a server.
You can go back to the Server Page in order to continue with the configurations.

